










All About Autoflowers - Growth Factors



- 1. Lighting requirements
- 2. Feeding requirements
- 3. Environmental requirements
- 4. Tips for better plant growth
- 4. a. Plant training techniques
- 5. In conclusion
All autoflowering cannabis varieties contain Cannabis ruderalis genetics, which give them their “autoflowering” trait and allow for faster, more resilient grows without the need to change light schedules to trigger flowering.
The evolution of autoflowers since the introduction of the Lowryder strain has been remarkable. Modern autoflowering varieties are capable of producing impressive yields and high-quality flowers that can even rival those of photoperiod strains. To achieve the best possible results, however, there’s one key requirement: providing optimal growing conditions.
It’s 2026, and autoflowers are better than ever. If you’re new to growing and thinking about giving autos a try, you’re in the right place. This beginner-friendly guide covers everything you need to know to grow autoflowers successfully and enjoy a great first harvest. Let’s get started!
Lighting Requirements
As mentioned, the main thing standing between you and top-quality weed is the growing environment. This includes lighting, feeding, temperature, and humidity.
Autoflowers, as you may know, are typically grown under an 18/6 light cycle from start to finish, unlike photoperiod plants, which require a change to a 12/12 light cycle to trigger flowering.
So, there’s not much mystery when it comes to the light schedule: set your timer to 18/6, and you’re good to go. However, plants have different lighting requirements at different stages of growth. A young seedling, for example, doesn’t need nearly as much light intensity as a plant in full flower.
Because of this, it’s extremely important to know how much light your plants are actually receiving. To measure this accurately, you’ll need a PAR meter.
A PAR meter measures the light available to plants for photosynthesis, specifically Photosynthetically Active Radiation (PAR) within the 400–700 nm wavelength range. These meters often use quantum sensors to measure the number of photons reaching the sensor, expressed as Photosynthetic Photon Flux Density (PPFD) in µmol/m²/s.
What does this mean? Simply put, a PAR meter tells you how much photosynthetically active light is actually reaching your plants. It doesn’t tell you how much light your LED fixture produces in total; instead, it measures the amount of usable light reaching a specific point in your grow space.
Why does this matter? Because too much light can actually be harmful to cannabis plants. Providing optimal conditions means finding the sweet spot—not too little light and not too much, but just the right amount.
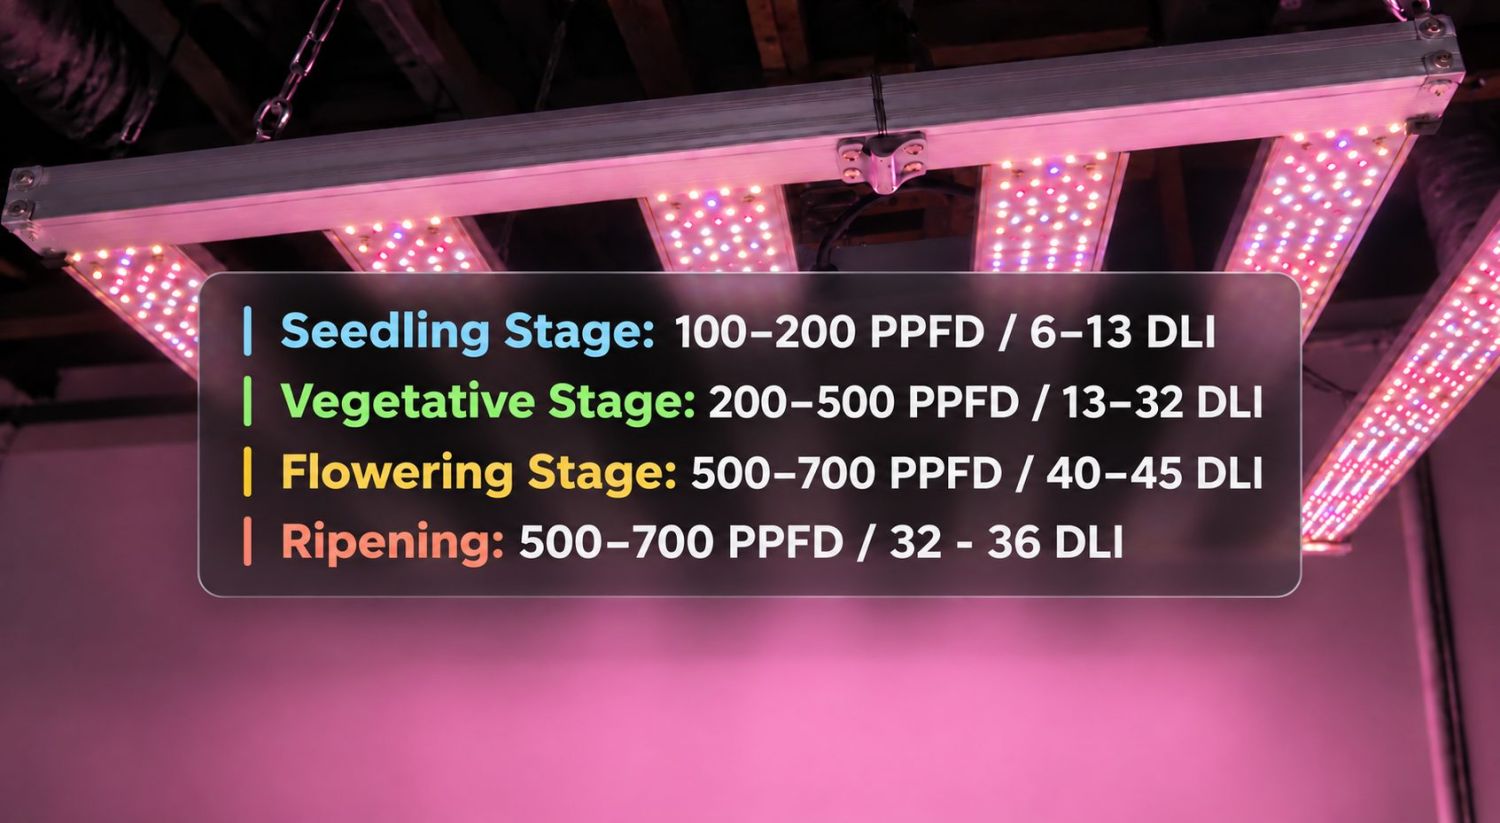
For autoflowers grown under an 18/6 light cycle, you can use the following ranges as a general guideline:
- Seedling Stage: 100–200 PPFD / 6–13 DLI
- Vegetative Stage: 200–500 PPFD / 13–32 DLI
- Flowering Stage: 500–700 PPFD / 40–45 DLI
- Ripening: 500–700 PPFD / 32 - 36 DLI
Remember, autoflowers can be grown under an 18/6 light cycle from seed to harvest. This is why they can reach a high Daily Light Integral (DLI) at a lower PPFD than photoperiod plants flowering under 12/12. Since photoperiod plants receive fewer hours of light each day during flowering, they generally require a higher PPFD to achieve the same results.

Feeding Requirements
While all cannabis plants, whether autoflowers or photoperiods, require the same essential nutrients, the concentration they need can vary. This happens not only when growing plants of different sizes—a huge 200 cm plant, for example, will naturally require more nutrients than a 90 cm plant—but also when comparing photoperiods and autoflowers, as autoflowers generally require fewer nutrients.
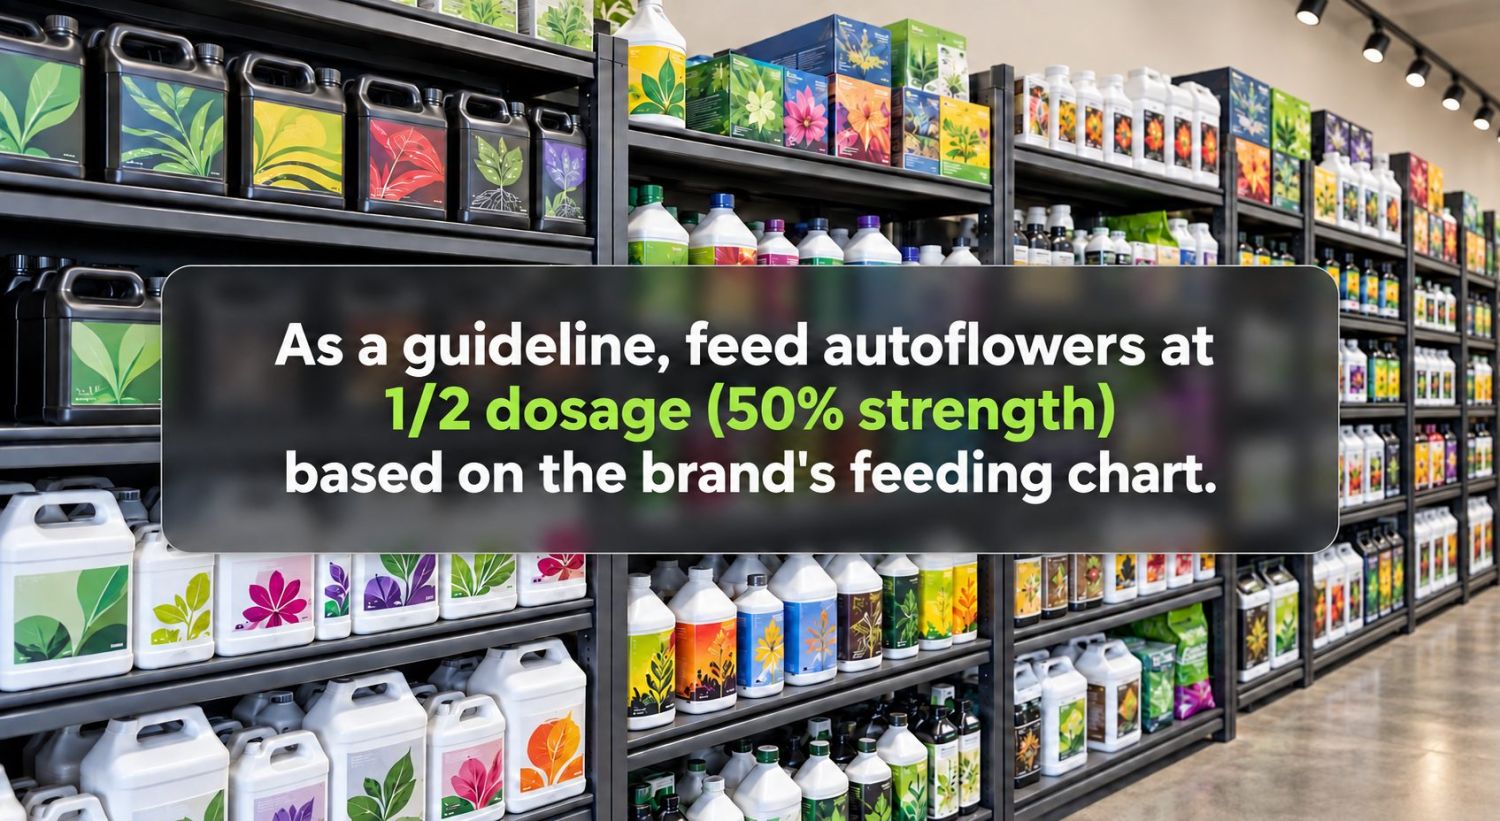
Because of this, a good starting point is to feed autoflowers at around ½ of the recommended dosage. It may sound complicated, but it really isn’t. Simply follow the manufacturer’s feeding chart while cutting the recommended nutrient concentration in half. So, if the chart calls for 10 ml per liter of water, start with 5 ml per liter for an autoflower and adjust as needed based on how the plant responds.
When it comes to pre-fertilized soils, heavily amended mixes such as All-Mix or Ocean Forest can sometimes be too nutrient-rich for autoflowers, potentially causing nutrient burn. A lighter soil, such as Light-Mix or Happy Frog, is the recommended option. As a general guideline, look for a growing medium with an EC of around 1.2 mS/cm or lower.
When using a pre-fertilized light soil, avoid adding nutrients immediately. Depending on the pot size and strain, the nutrients already present in the medium may be enough to support the plant through much of the vegetative stage. Once the plant begins pre-flowering, you can start feeding according to the manufacturer’s chart at around ½ strength, gradually adjusting the concentration based on the plant’s response.
Environmental Requirements
In order to grow and thrive, plants need to carry out essential processes such as respiration and photosynthesis, and environmental conditions play a major role in how efficiently these processes occur.
This is where VPD (Vapor Pressure Deficit) comes into play. A seedling, for example, has a small root system and doesn’t need to take up large amounts of water, so a lower VPD is generally preferred. A plant in full flower, on the other hand, has greater demands for water and nutrients and can typically handle a higher VPD, which encourages greater transpiration.
| Growth Stage | Temperature | Humidity | VPD |
|---|---|---|---|
| Seedling | 23–29°C (75–85°F) | 75 - 85% | 0.5 - 0.7 |
| Vegetative | 21–29°C (70–84°F) | 65 - 75% | 0.8 - 1.3 |
| Pre-Flower | 21–26°C (70–80°F) | 55 - 65% | 1.2 - 1.5 |
| Flowering | 15–24°C (60–75°F) | 40 - 50% | 1.5 - 1.7 |
So, how do you control VPD? By adjusting two key environmental factors: temperature and relative humidity. Finding the right balance between the two allows you to maintain an appropriate VPD for each stage of growth and create optimal conditions for your plants. This allows plants to carry out their vital processes as efficiently as possible, promoting faster, healthier growth while reducing the risk of environmental stress and certain pest problems. Maintaining optimal conditions can also help you use electricity, water, and time more efficiently throughout the grow.
Tips for Better Plant Growth
Once you have the knowledge and equipment to provide optimal conditions, there are some tips and tricks that can help you take your harvest to the next level.
Plant Training Techniques
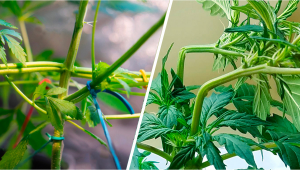
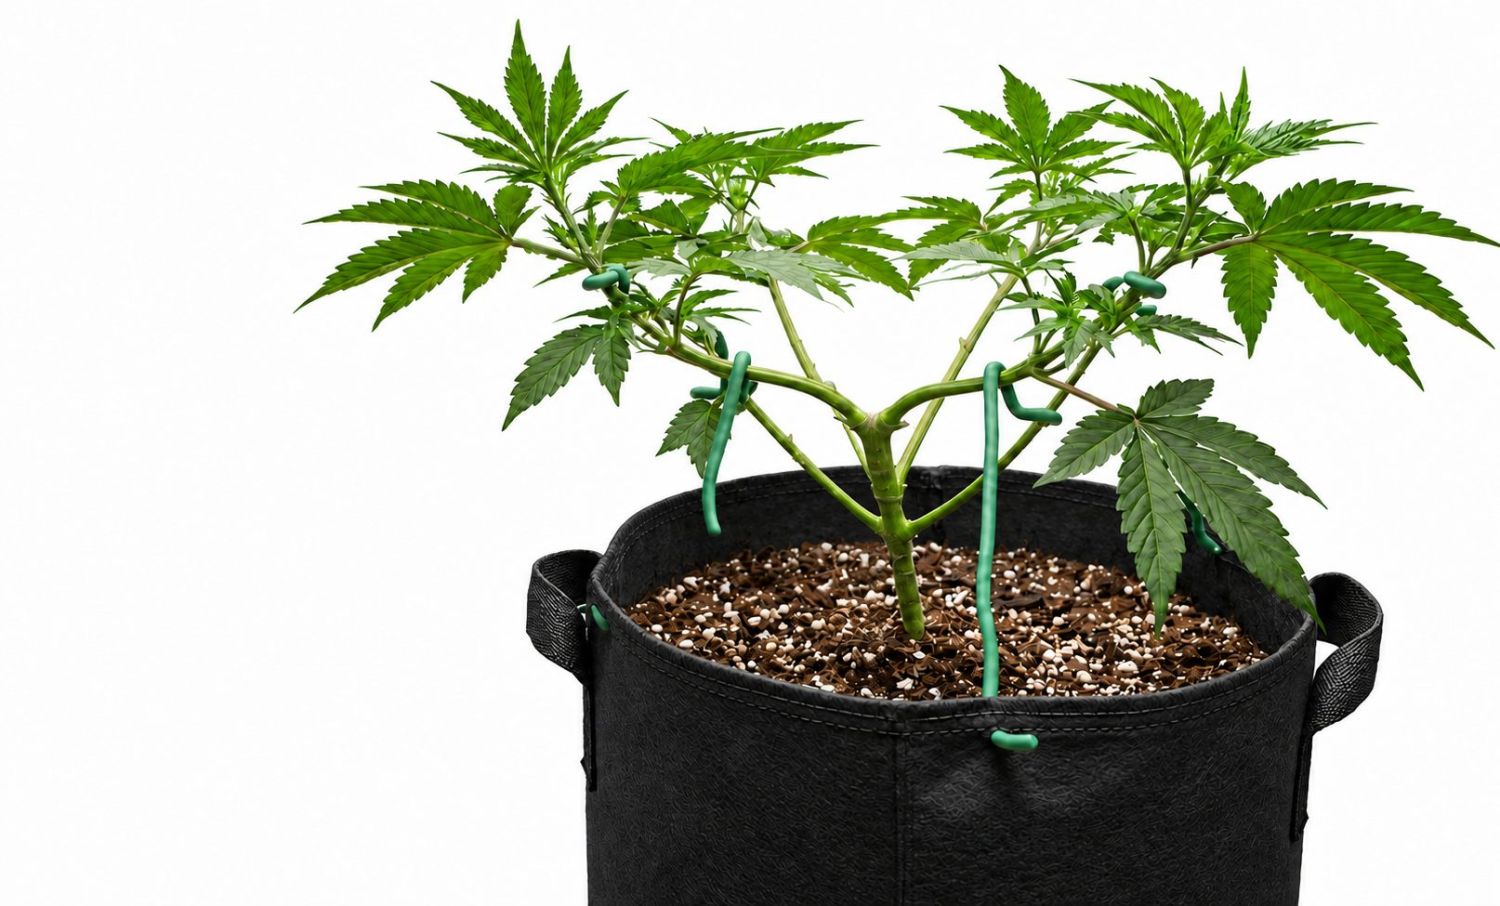
“Low-Stress Training” or LST is basically the method of gently bending down (and holding in place with soft string or furry wire ties) the branches so that they form a wider canopy -- which means each branch receives more light. Unlike HST techniques such as topping, fimming, super cropping, etc., this form of training is not meant to hurt the plant in any way. This is important for autoflowering cannabis strains, as they do not have the vegging growth time to recover from such invasive forms of training.
LST is best applied progressively, every few days, while branches are still flexible enough to bend easily. Bending towards the ends of branches is easiest. You will gradually achieve the optimal plant shape as each bent branch naturally arches upwards towards the light. First-time autoflower growers are advised against “topping” the plant before LST (this means entirely cutting off the tallest branch to promote a flatter, more substantial overall growth). Autoflowers have shorter growth spans and less time to recover from shocks. However, with more experience and a healthy, fast-growing plant with at least 4 nodes (pairs of main leaves), it can be fine to just snip the tip (a collection of tiny leaves).
Fimming
“FIMing” is a less extreme version of topping. Instead of slicing off the top stem, you merely shave the very top of the tip and cause the plant less stress. The downside is that, unlike topping, FIMing is unlikely to result in a split main stem (i.e. two main colas).
Defoliation
Strategic defoliation of indoor plants (not usually necessary when growing under the sun, which moves across the sky) is essentially the snipping of leaves during the vegetative stage and critical early flowering stage, to give the greatest amount of extra light and air. As mentioned above, you are more than welcome to experiment with whatever training technique you please, but any form of HST may lead to detrimental effects with autos if you don’t know what you’re doing.
Fast Buds offers several high-yielding strains, such as the Purple Lemonade Auto RF3, which can benefit greatly from these techniques.
Beneficial Microorganisms
Small soil-dwelling organisms also play a key part in cannabis health and optimal growth. Did you know that there's a whole bunch of tiny creatures called microbes that help cannabis plants grow big and strong? That's right, these little guys play a big role in keeping your weed healthy and happy. First off, let's talk about the soil. Microbes in the soil help break down organic matter, like dead leaves and other plant debris, into nutrients that the cannabis plant can use. They also help the plant absorb those nutrients more efficiently, so it can grow faster and stronger. But it's not just about the soil. Microbes can also live on the surface of the plant itself. These beneficial bacteria and fungi help protect the plant from harmful pathogens and pests, like mold and insects. They can even help improve the plant's natural defense mechanisms, making it more resistant to disease.
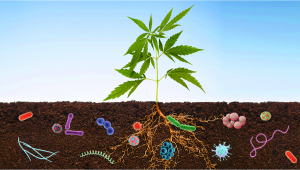
One type of microbe that's especially helpful for cannabis plants is mycorrhizal fungi. These fungi form a symbiotic relationship with the plant's roots, forming tiny threads that help the plant absorb nutrients and water from the soil. They can even help the plant deal with environmental stress, like drought or nutrient deficiency. Another group of microbes that can help cannabis plants thrive is nitrogen-fixing bacteria. These little guys take nitrogen from the air and convert it into a form that the plant can use. You can use microbes to your advantage in many different ways as a grower for better results, including by inoculating transplants with mycorrhizal fungi and Trichoderma, and applying compost tea as a foliar spray.
In conclusion
There are countless plant-training techniques, supplements, tools, and gadgets claiming they WILL give you top-quality weed. The truth is, however, that the most reliable way to grow great weed is to start with good genetics and provide optimal environmental conditions.
So, instead of wasting time and money on so-called miracle products, invest in basic equipment that allows you to monitor and adjust your growing environment. Focus on getting the fundamentals right—light, temperature, humidity, airflow, and nutrition—and let your genetics do the rest.
There are no shortcuts: good genetics + optimal conditions = top-shelf weed.

FAQ
There isn't a single trick, supplement, or gadget that guarantees top-shelf flowers. Good genetics combined with consistently optimized lighting, nutrition, temperature, humidity, watering, and airflow gives your plants the best opportunity to reach their genetic potential.
An 18/6 light cycle is one of the most commonly used schedules, providing 18 hours of light and 6 hours of darkness every day from seed to harvest. Unlike photoperiod plants, autoflowers don't require a 12/12 schedule to start flowering.
Excessive light can cause stress, resulting in symptoms such as leaf curling or slowed growth. More light isn't always better; the goal is to provide the right amount for each growth stage.
DLI, or Daily Light Integral, represents the total amount of photosynthetically active light a plant receives over 24 hours. It's particularly useful for autoflowers because their longer daily light cycles mean they can achieve a high DLI at a lower PPFD than plants flowering under 12/12.
Half strength can be a useful starting point, but it isn't a universal rule. Genetics, plant size, growing medium, water quality, and the fertilizer itself all influence how much nutrition a plant needs.
VPD, or Vapor Pressure Deficit, describes the relationship between temperature, humidity, and the air's drying power. Maintaining an appropriate VPD helps regulate transpiration and influences how efficiently plants exchange water with their environment.
VPD can be adjusted by controlling temperature and relative humidity. Depending on your conditions, this may involve using controllers to automate heaters, air conditioners, humidifiers, dehumidifiers, exhaust fans, and other climate-control equipment.
Yes. Seedlings generally perform better under warmer, more humid conditions and a lower VPD. As plants mature, humidity and temperatures can gradually decrease, and VPD can increase to accommodate greater transpiration.
Autoflower seedlings generally require relatively low light intensity. Around 100–200 PPFD is a reasonable starting range, increasing gradually as the plants become established.
During vegetative growth, approximately 200–500 PPFD can provide sufficient light for healthy development. Increase intensity gradually rather than exposing young plants to very intense light all at once.
During flowering, autoflowers can generally handle around 500–700 PPFD without supplemental CO₂ and +1000 PPFD with CO₂ injection. The ideal intensity depends on genetics, environmental conditions, and the number of hours of light provided each day.


Comments