




Fem Forge: Crafting the Future Strain

Creating Identical Mother Clones
First First and foremost, the mother plant must be completely healthy, with richly green foliage; the cleaner and healthier the mother, the faster and more reliably her cuttings root. Our goal is to establish at least 10 final mother trees per variety. Given an expected 90–95% clone‑take rate, we still take an excess of 30–40 cuttings per variety to provide a buffer — roughly 20 clones will be planted out per variety for the next round of selection, ensuring that the retained clones are true, identical copies of each other.
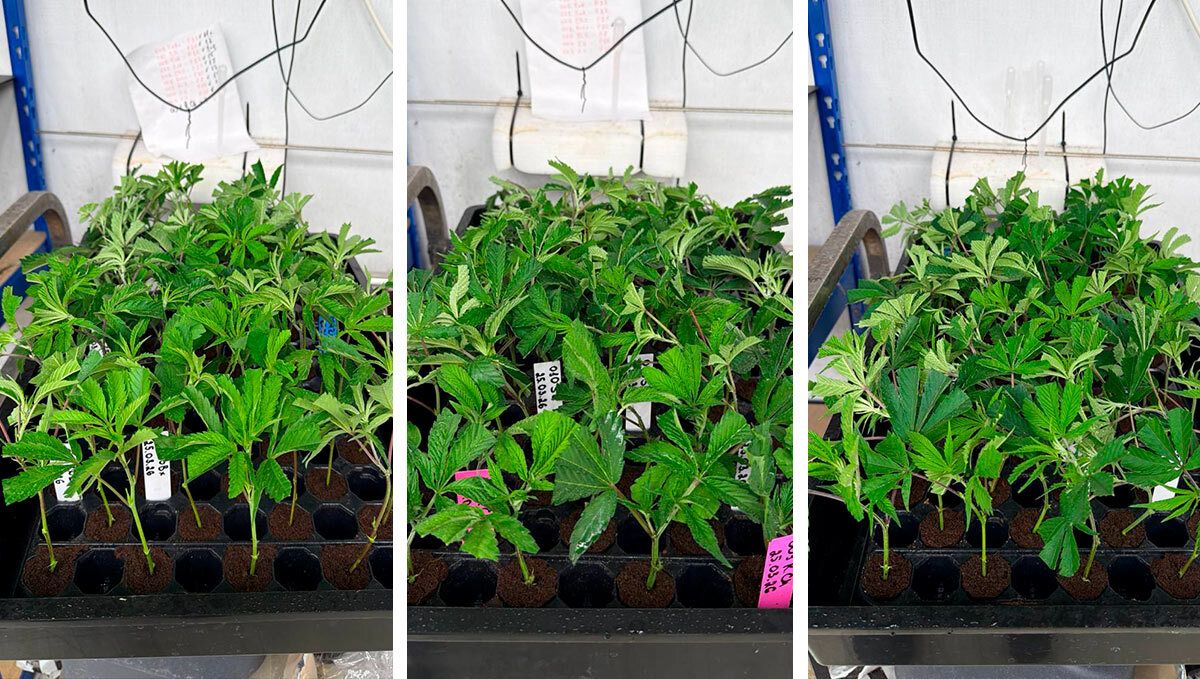
High Humidity, Short Vent Cycles
For the first week, we keep humidity under the dome as high as possible. Since the cuttings don’t have roots yet, they rely on foliar uptake of moisture and micronutrients through the leaf surface. Every day we wipe off the old condensation from the dome and mist the clones with a low‑EC solution (around 0.4 - 0.6) adjusted to a pH of roughly 5.7- 6.0. We spray lightly but regularly so the leaves stay hydrated without being constantly soaked, helping to prevent rot while still supporting foliar feeding.
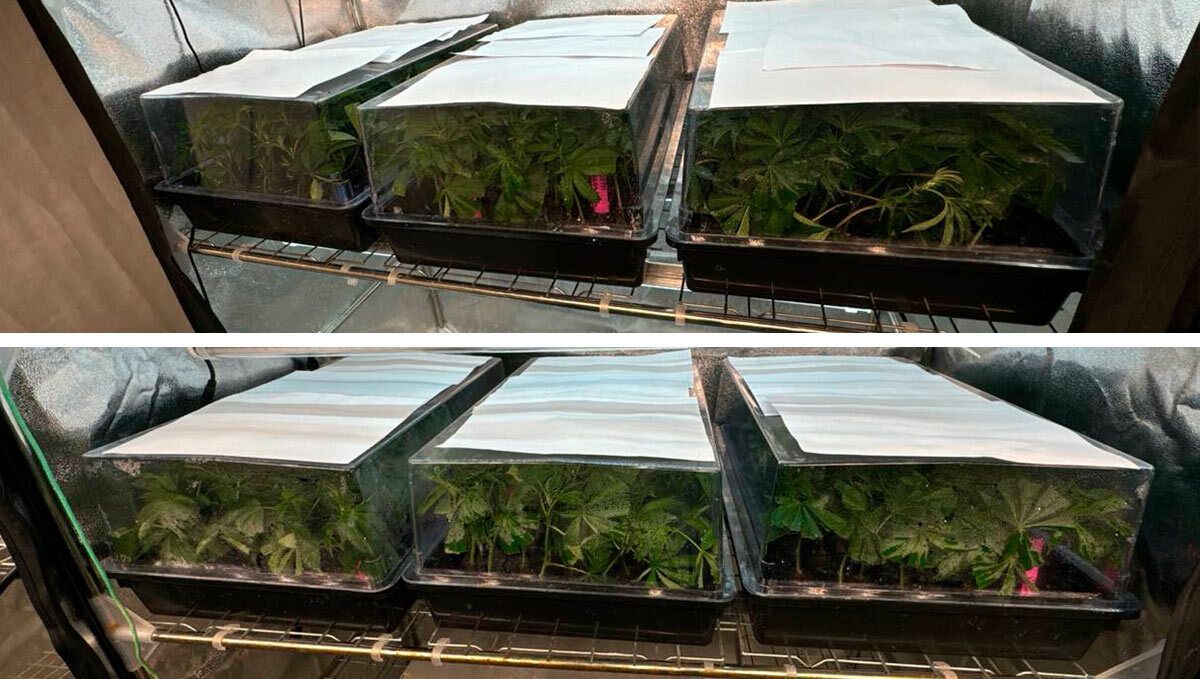
First Roots
Around days 7 - 8 we start to see the first roots poking through. That’s our signal to open the vents on the propagators and increase fresh air, slightly dropping humidity under the dome to push the roots to work harder.
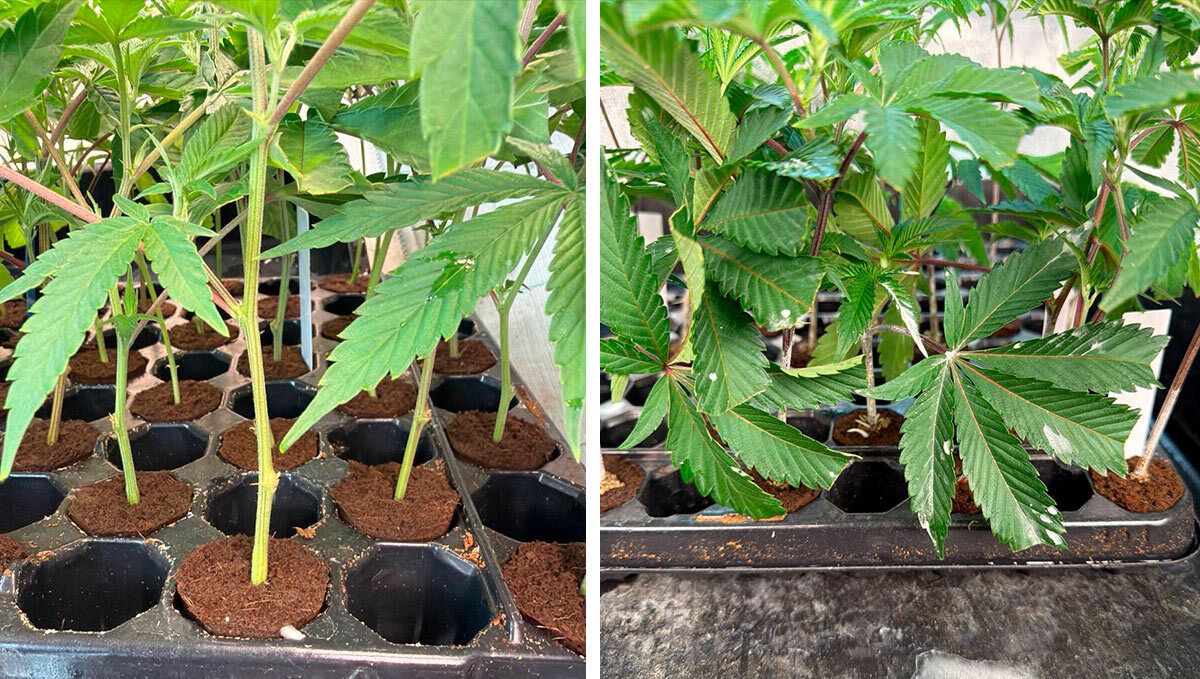
From this point the clones begin to wrap the medium with roots and dry out the sponges much faster, so we watch them closely and re‑moisten as needed - making sure the medium never dries out completely, but also doesn’t stay waterlogged.
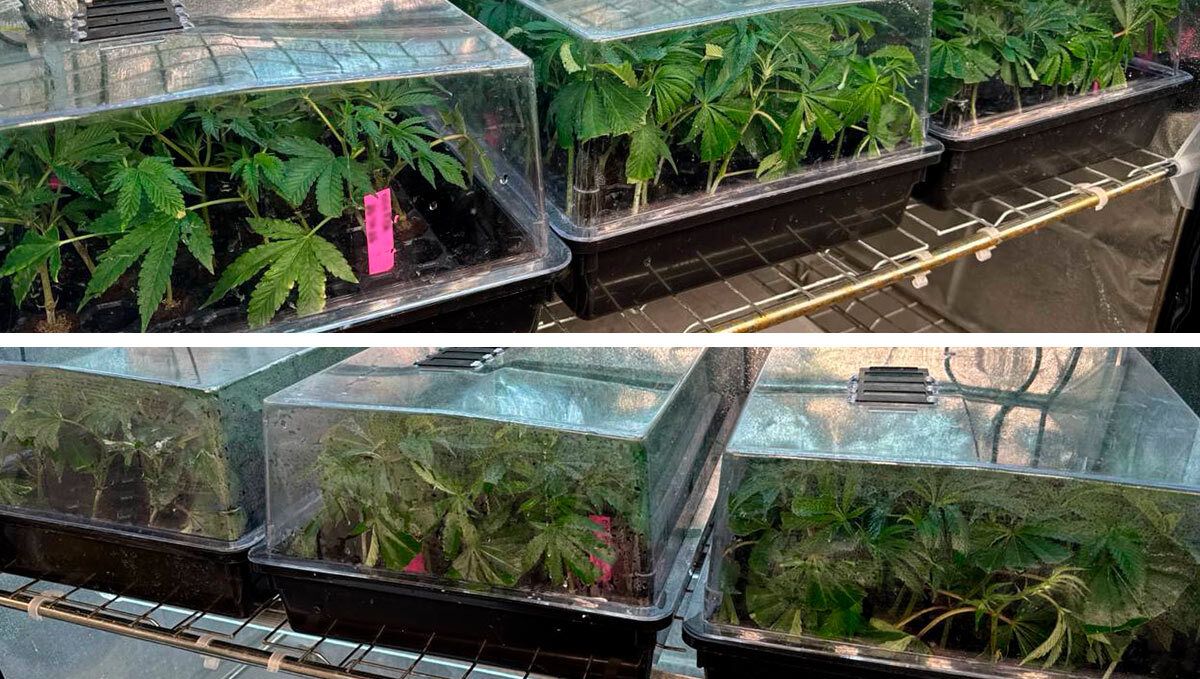
Transplanting Rooted Clones into Coco
Substrate: 90% coco, 10% humus
Feed: EC 1.0-1.2, pH 5.6-5.9
Males : 2‑gallon pot to give them extra root volume and higher growth potential
Females : 1‑gallon pot for compact, manageable structure and easy maintenance
Once we clearly see well‑developed, bright white root systems on the clones, we transplant them as soon as possible. The goal is not to lose time and not let them get cramped in the starter plugs; instead, we want all that energy redirected into building a strong root system in their final bags.
For transplanting, we make a hole slightly larger than the plug, add a pinch of Azos + Mykos into the hole, then lightly pre‑moisten it with our feed solution. We gently place the clone into the hole without damaging the roots; when the roots are long, we sometimes give the plug a slight twist so the roots wrap in a spiral, reducing the chance of breakage. Right after transplant some clones may droop a bit due to the climate change stress, but in our experience almost all of them bounce back by the next day.
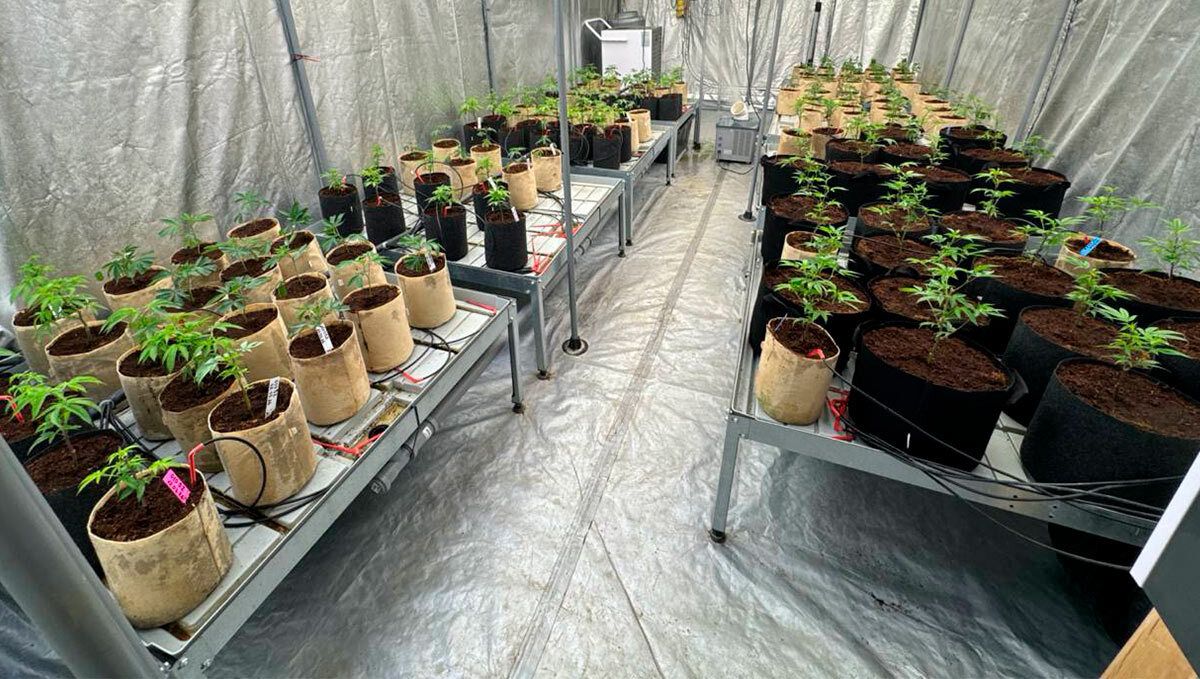
Seventeen days later
Seventeen days in, all plants are looking strong and have put on solid growth. The future mothers stayed in the main room, where they will remain for the rest of the cycle, spaced evenly to make the most efficient use of the available area and light.
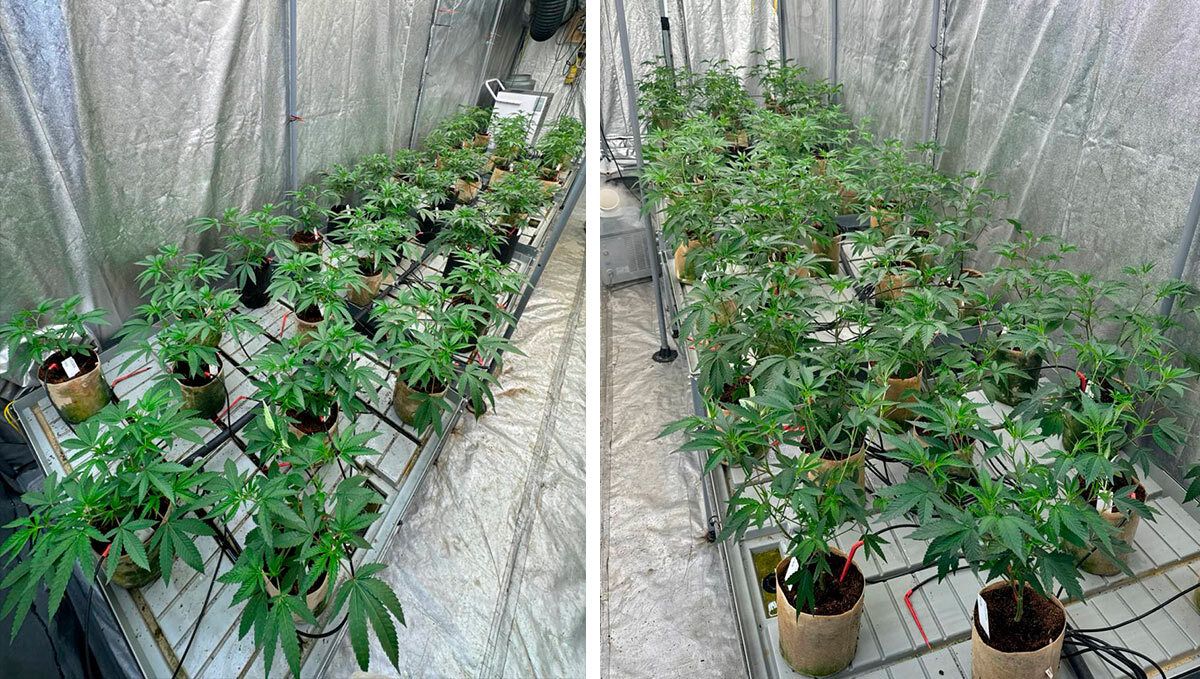
Males
The future males have been moved to a separate room, where they will be treated with STS and flipped to flower earlier than the mothers according to our protocol. In this photo timeline you can see how these future fathers change every 3 - 4 days - from the first stretch and early structure formation right up to the pre‑pollen stage, before any visible pollen sacs appear.
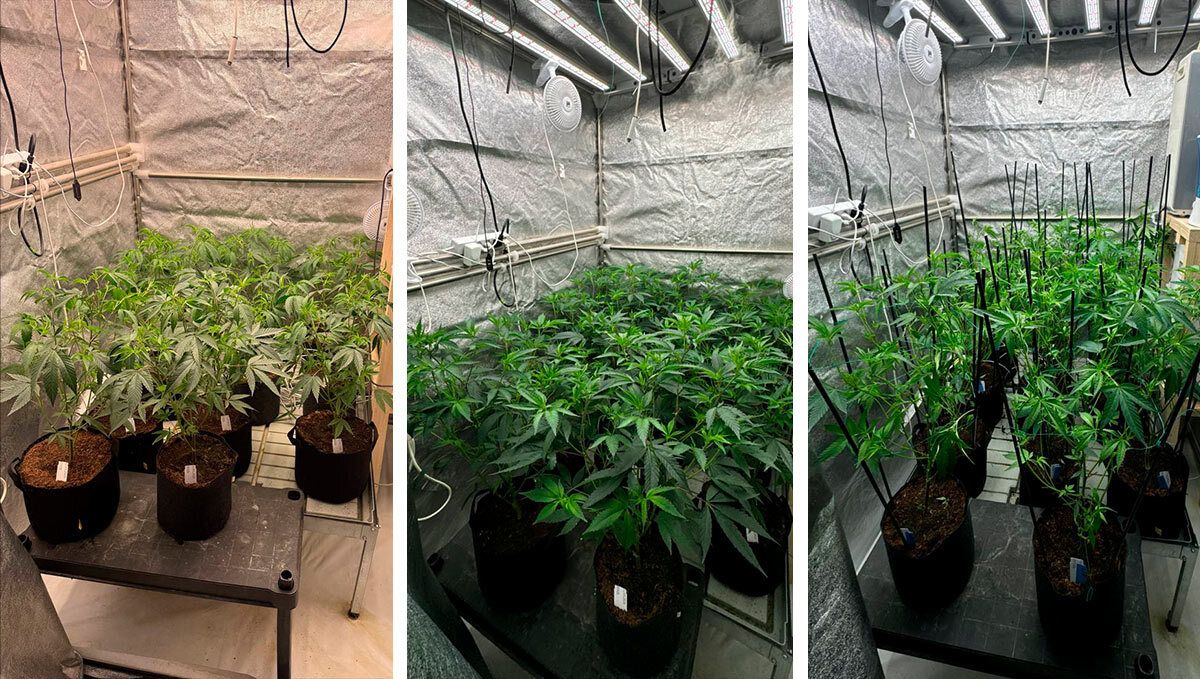
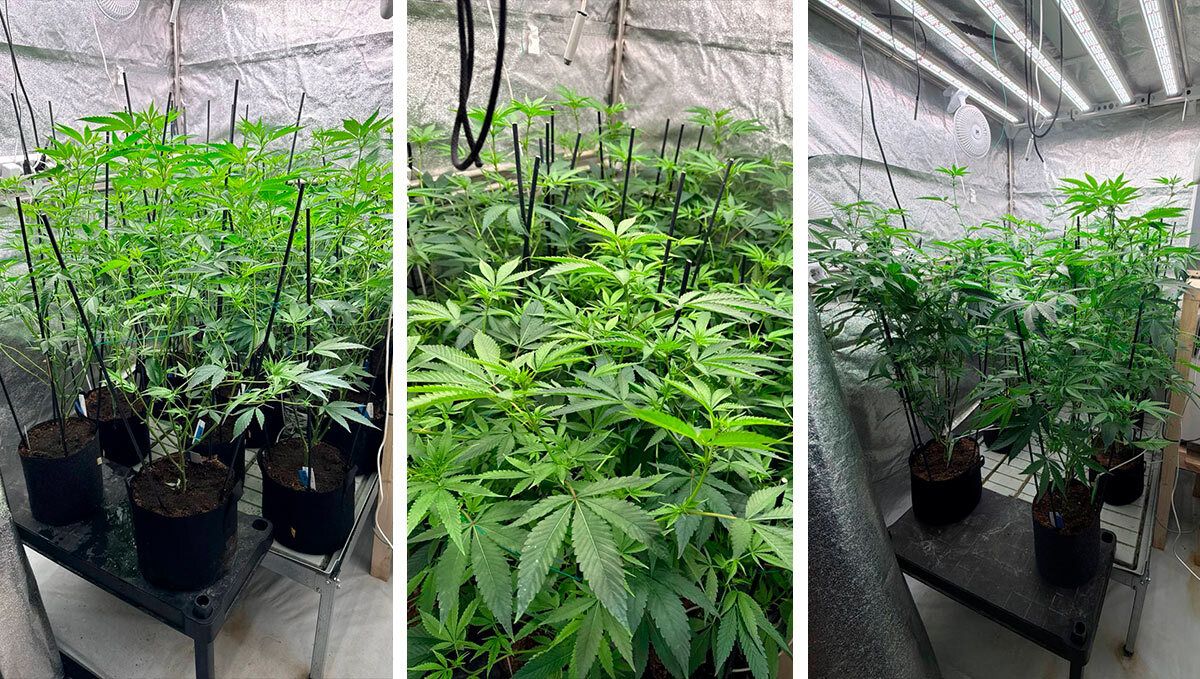
What’s happening with the female plants?
Our female plants, the future pollen receivers, have put on a serious amount of growth and now need some shaping. We reduce leaf mass and clean up the structure to improve airflow and prevent pockets of stagnant air and moisture between branches, which is critical before the canopy gets any denser. It always feels at first like “I’ll knock this out in an hour,” but experience quickly reminds you it takes much longer to do it properly and on time.
For you, it will be about a one‑minute walkthrough, but behind that short clip are roughly 3 - 4 hours of focused, meticulous work on each table. Enjoy the transformation.
What’s Happening with the Mothers and Fathers?
While the mothers are waiting for the right fathers to reach the required stage of development, they continue through the normal vegetative phase. During this period, we regularly manage their structure through leaf removal, topping, training, and guiding the plants into the SCROG system.
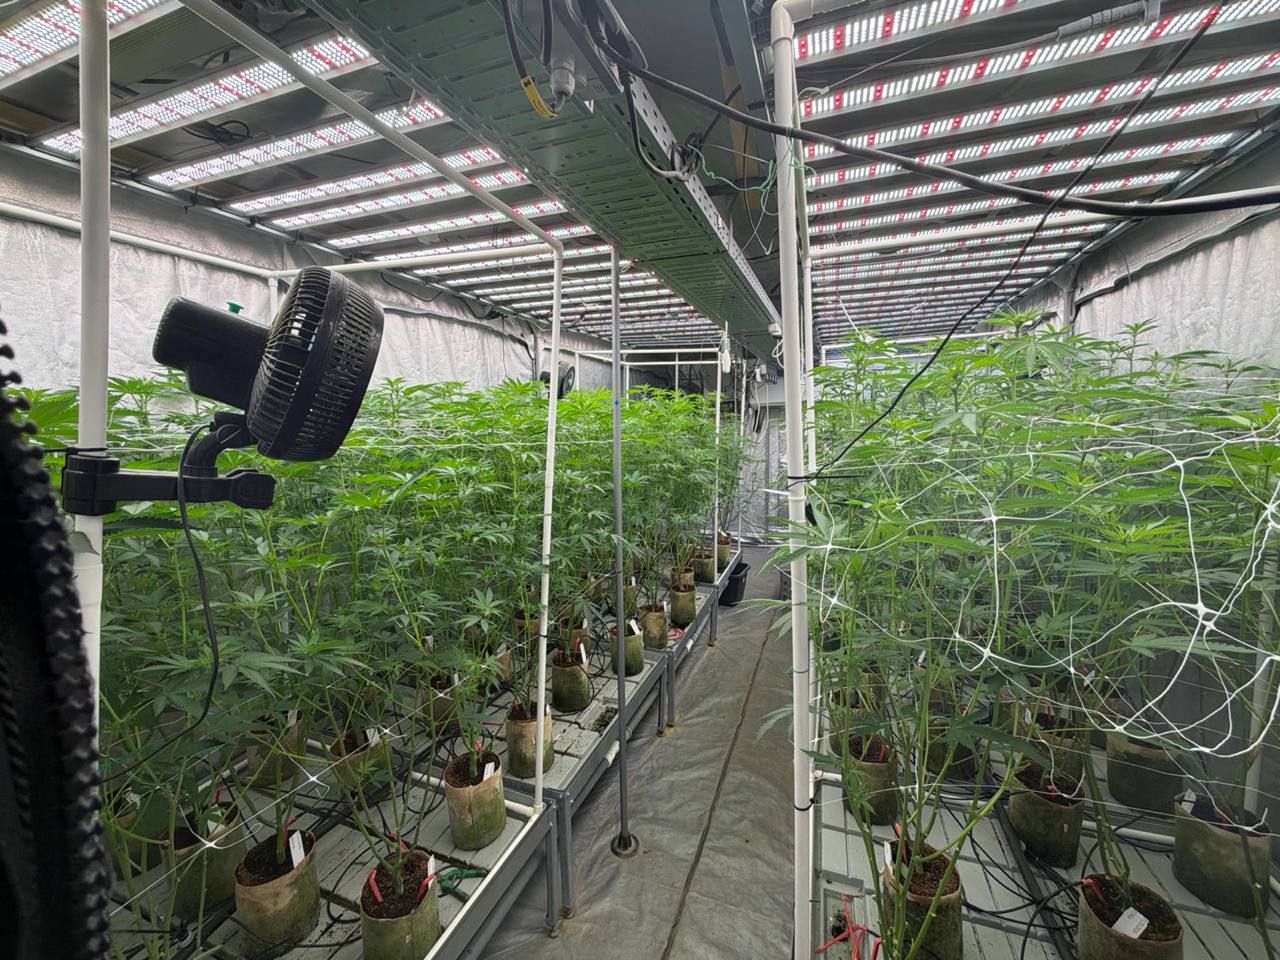
The goal is to keep the mothers developing evenly and build the structure we need before they reach the next stage of the project.
The fathers, meanwhile, are following a very different path. They are developing under silver treatments designed to suppress female expression. The first clear male traits have already appeared, and the plants have now started developing pollen inside their pollen sacs.
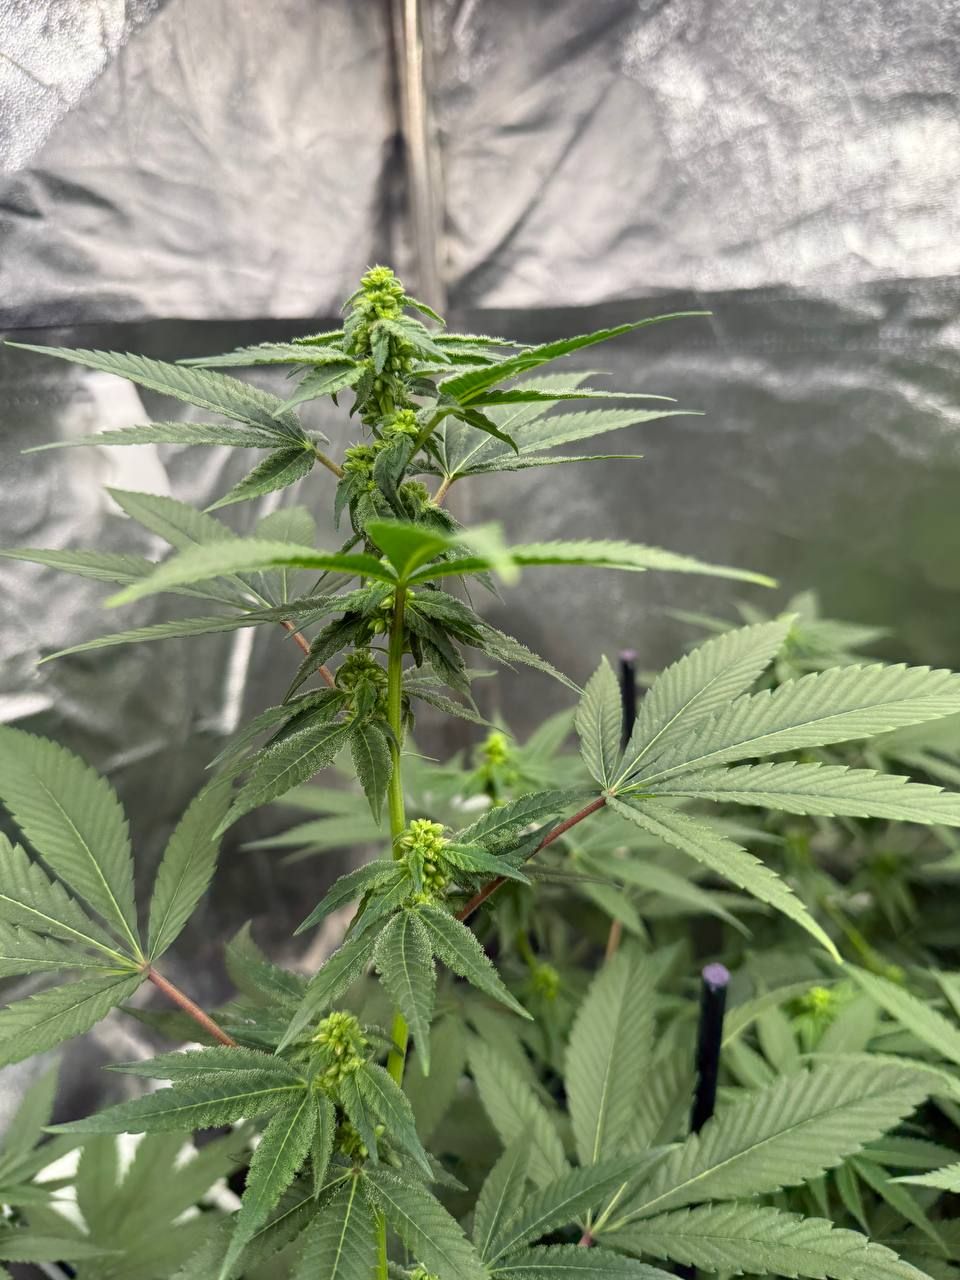
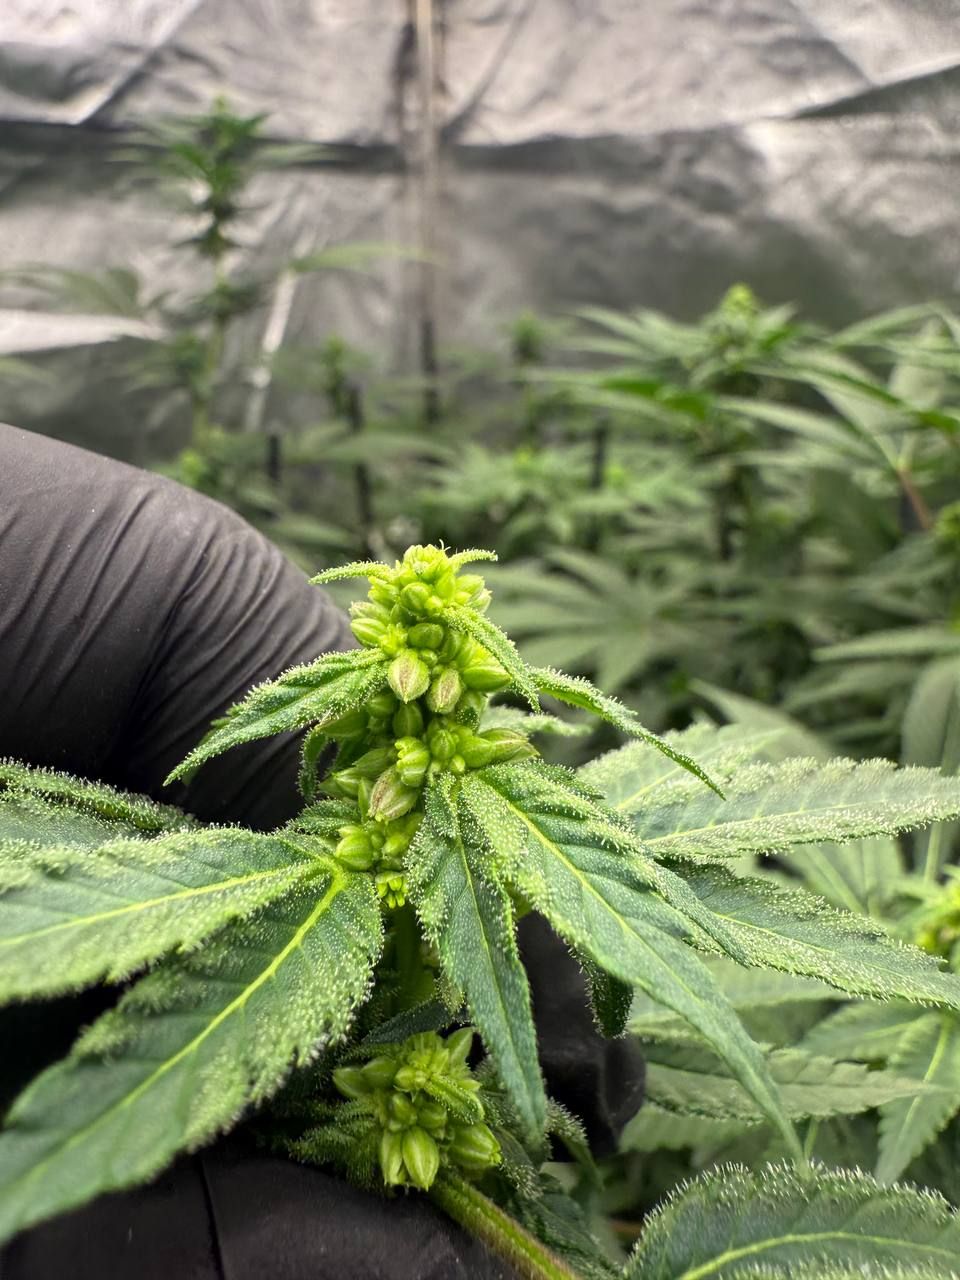
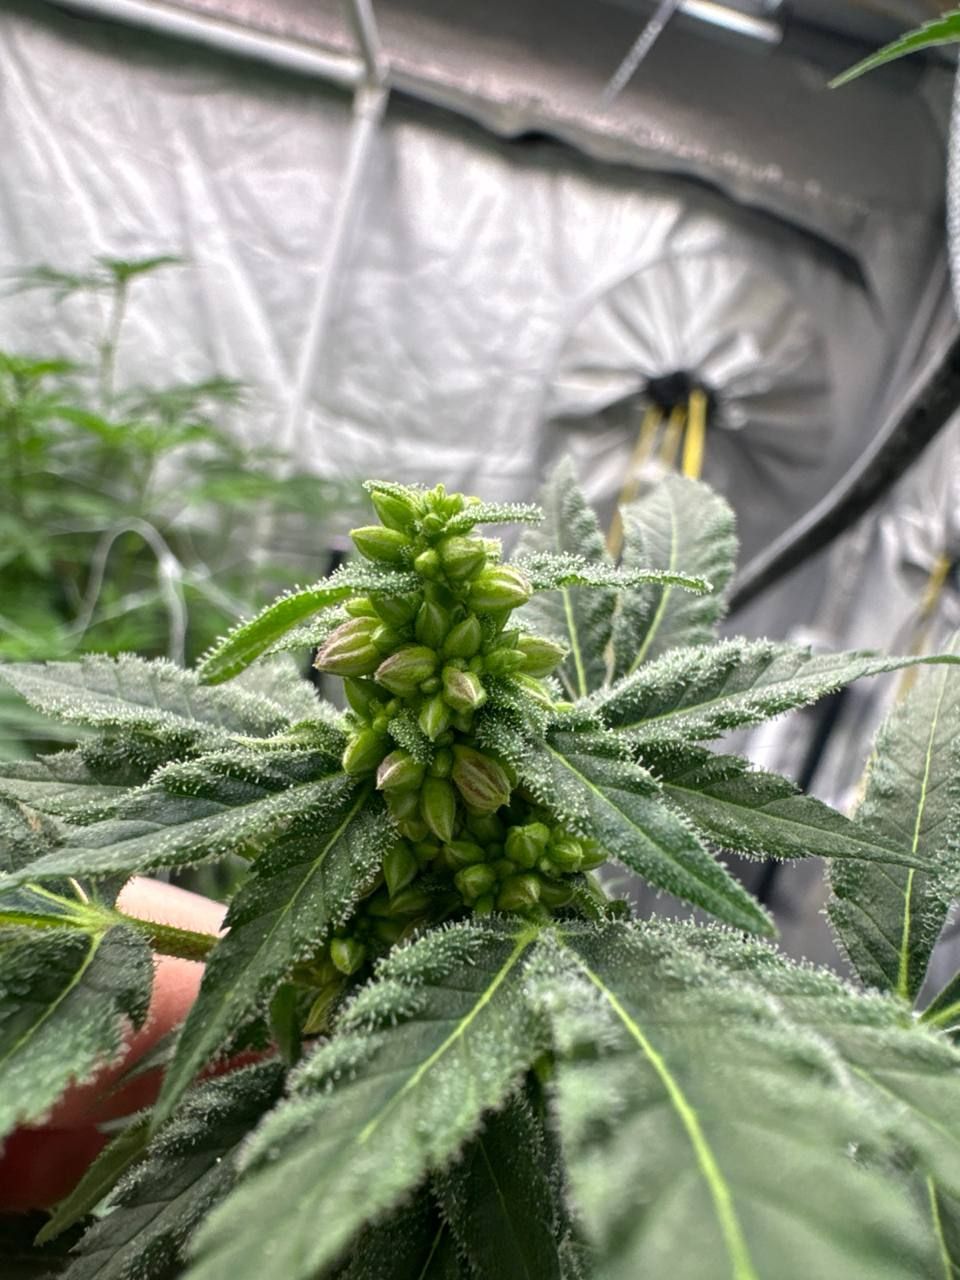
Everything is progressing in parallel, with the mothers being prepared structurally while the fathers are being prepared to provide the pollen needed for the next stage of the project.
Reaching the Pollination Window
By carefully following the timing throughout the cycle, we have reached the point where the flowering stage of the mothers is synchronized with the beginning of pollen production from the fathers.
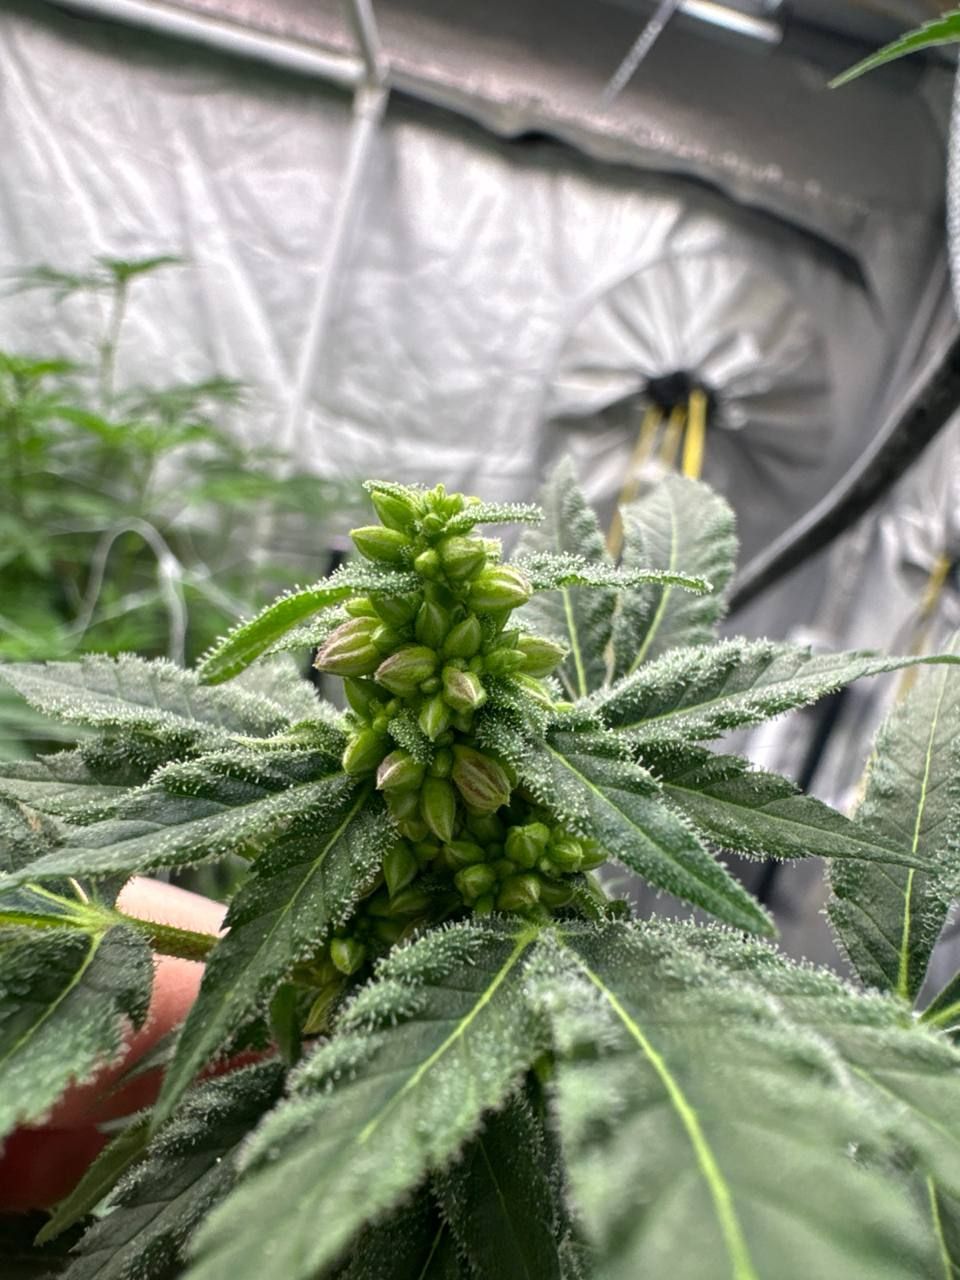
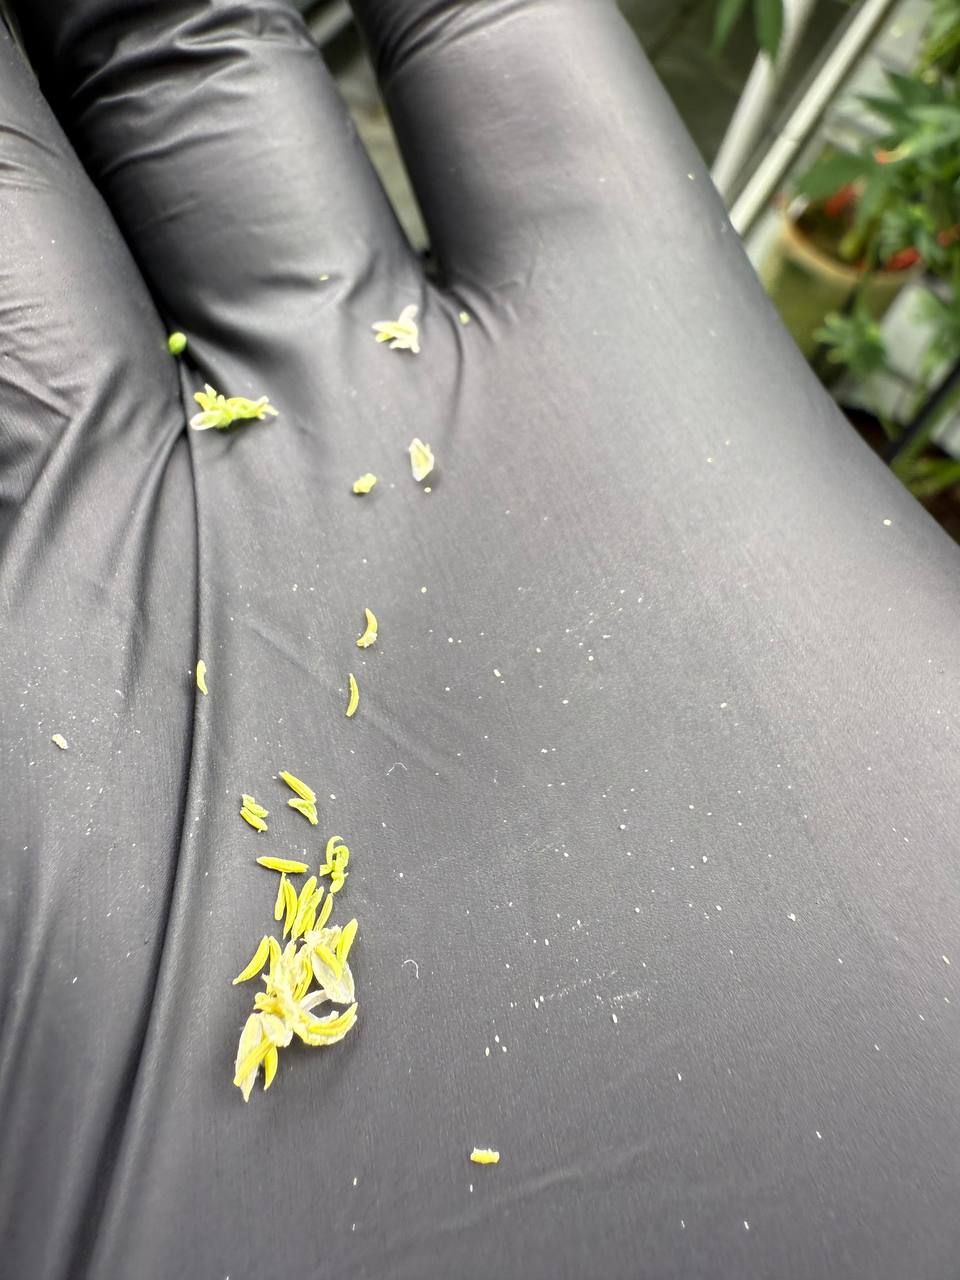
The mothers are already well into flowering, and after a period of stretching and vigorous vegetative growth, they have developed a substantial amount of foliage. While healthy growth is exactly what we want to see, this dense structure can make the pollination process much more difficult.
Preparing the Mothers for Pollination
This is where another round of careful defoliation comes in. We remove the excess foliage and open up the structure of the plants, creating much better access to the flowering sites.
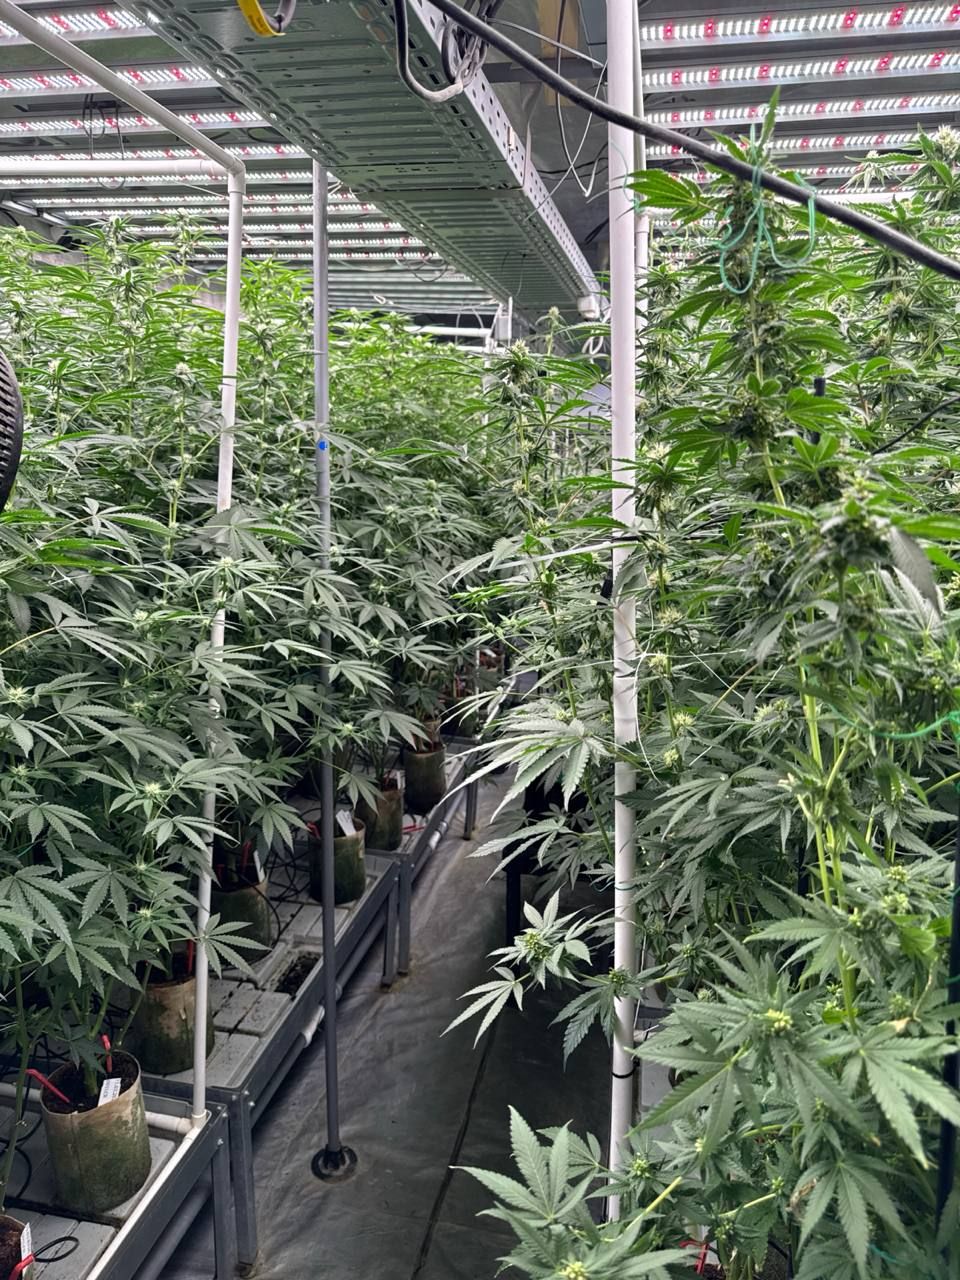
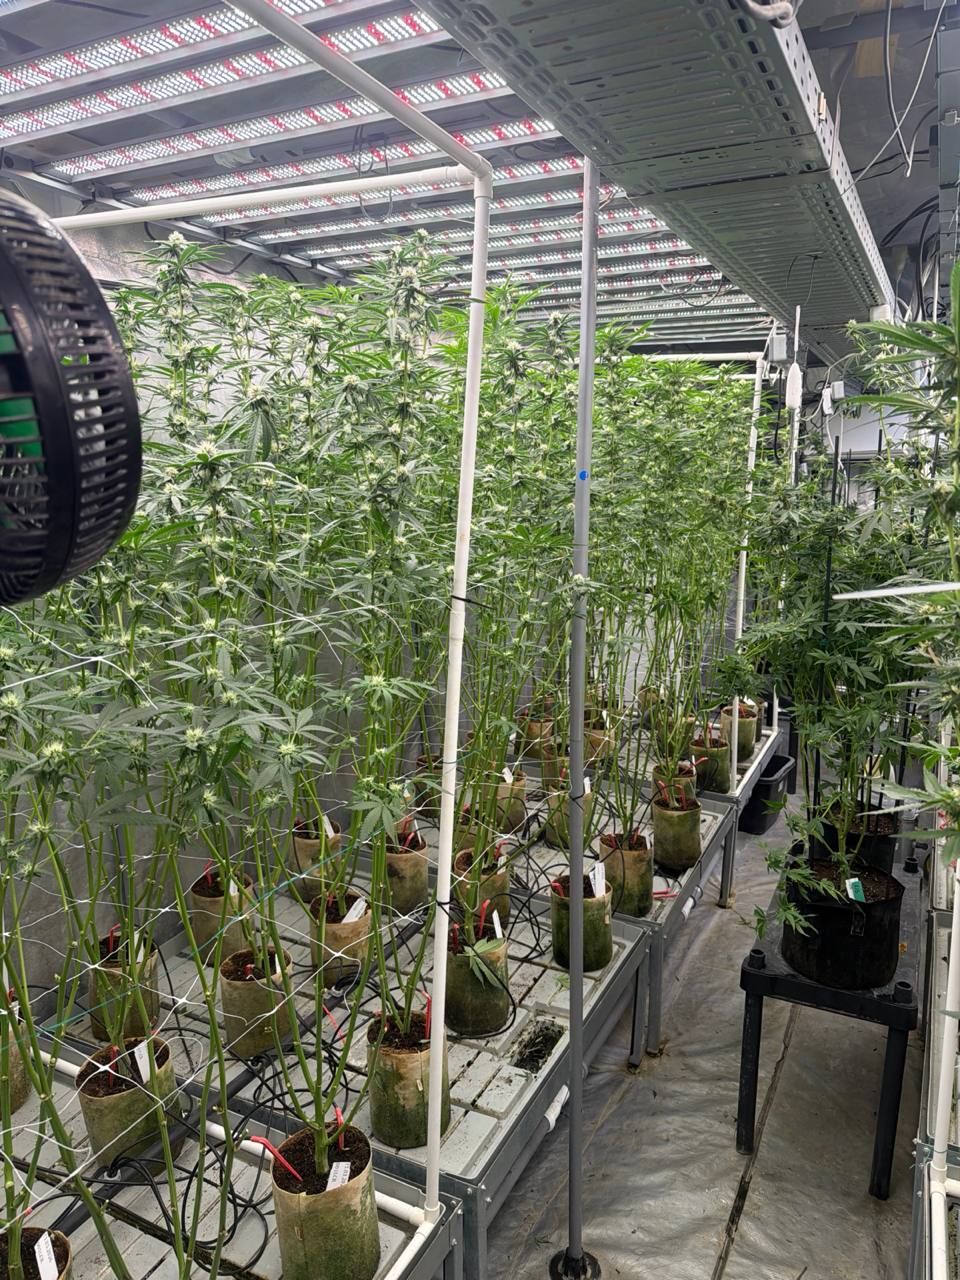
And just like that — much better.
The plants can now receive more light, maintain better airflow, and, most importantly, the stigmas are fully exposed and ready to receive pollen.
With the mothers properly prepared and the fathers beginning to release pollen, everything is finally aligned for the pollination stage and the beginning of seed development.
One Week After Pollination
After a week of active pollination, we can already see the first clear signs that the process has been successful.
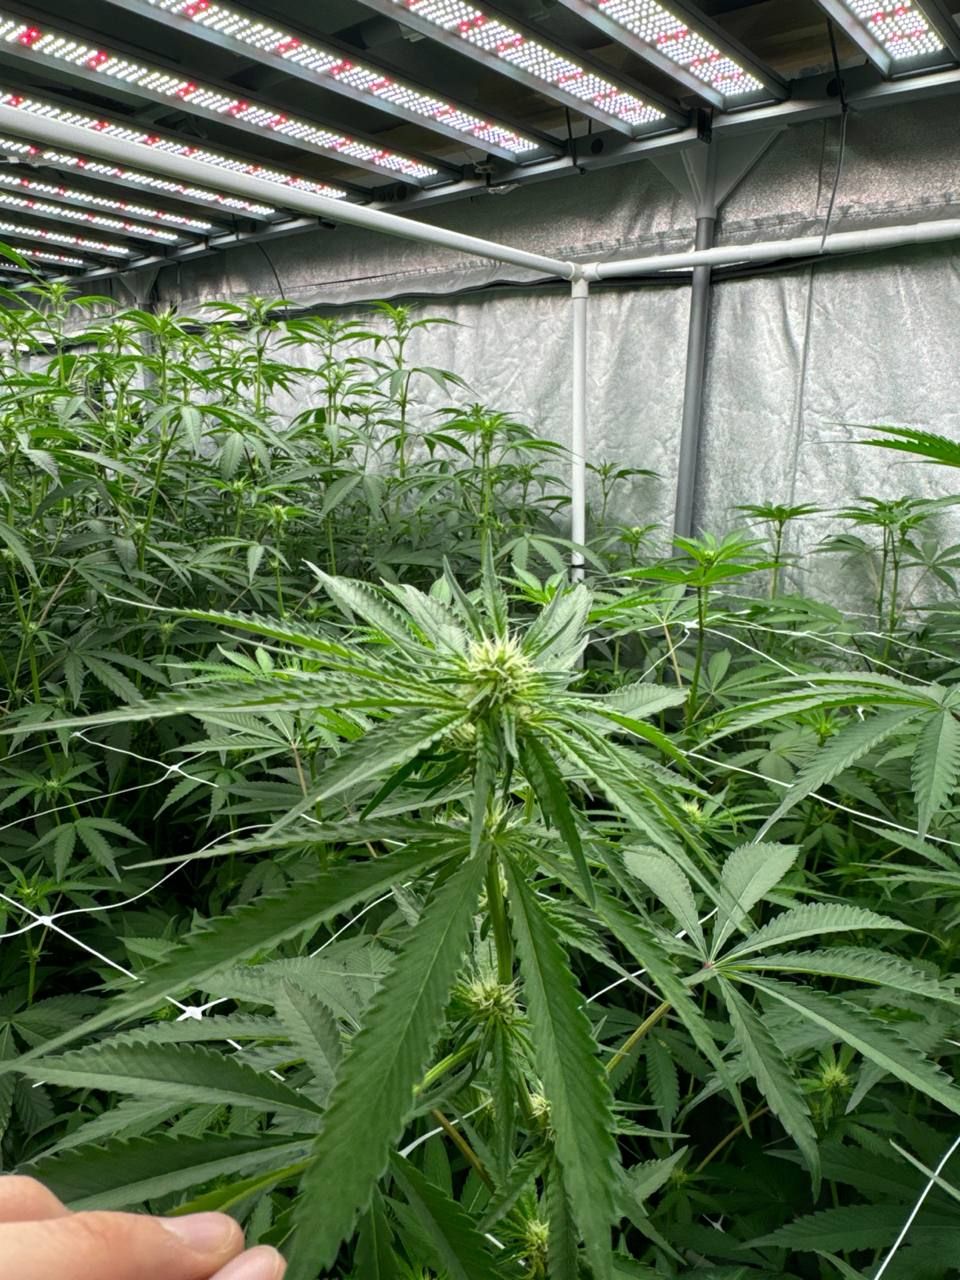
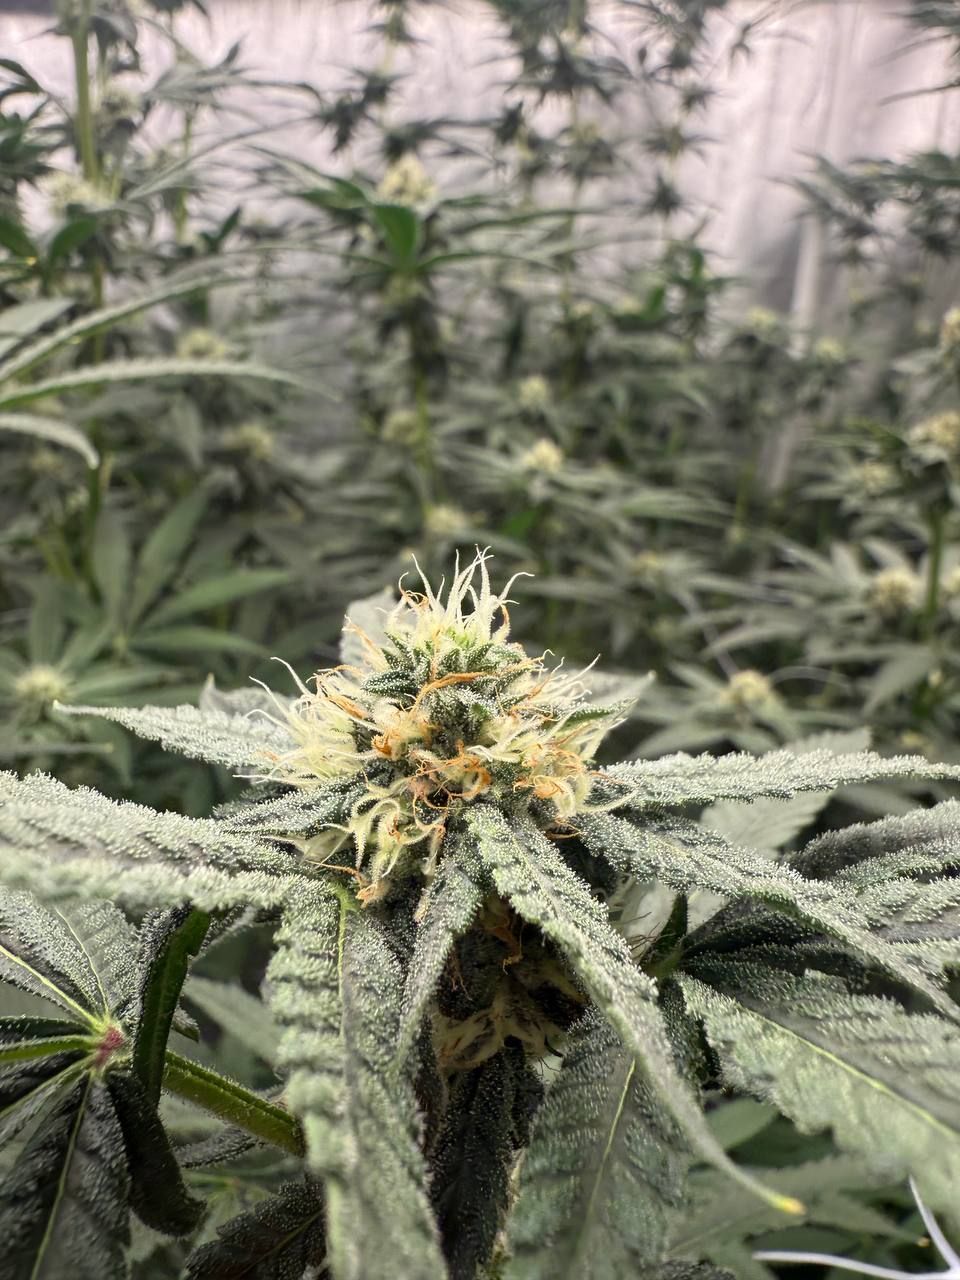
The stigmas begin to darken as they receive pollen, and the first stages of seed development start taking place inside the developing seed pods.
At this point, the changes are still relatively subtle, but they are an important indication that pollination has taken hold and the mothers have begun directing their energy toward seed development.
Final Ripening
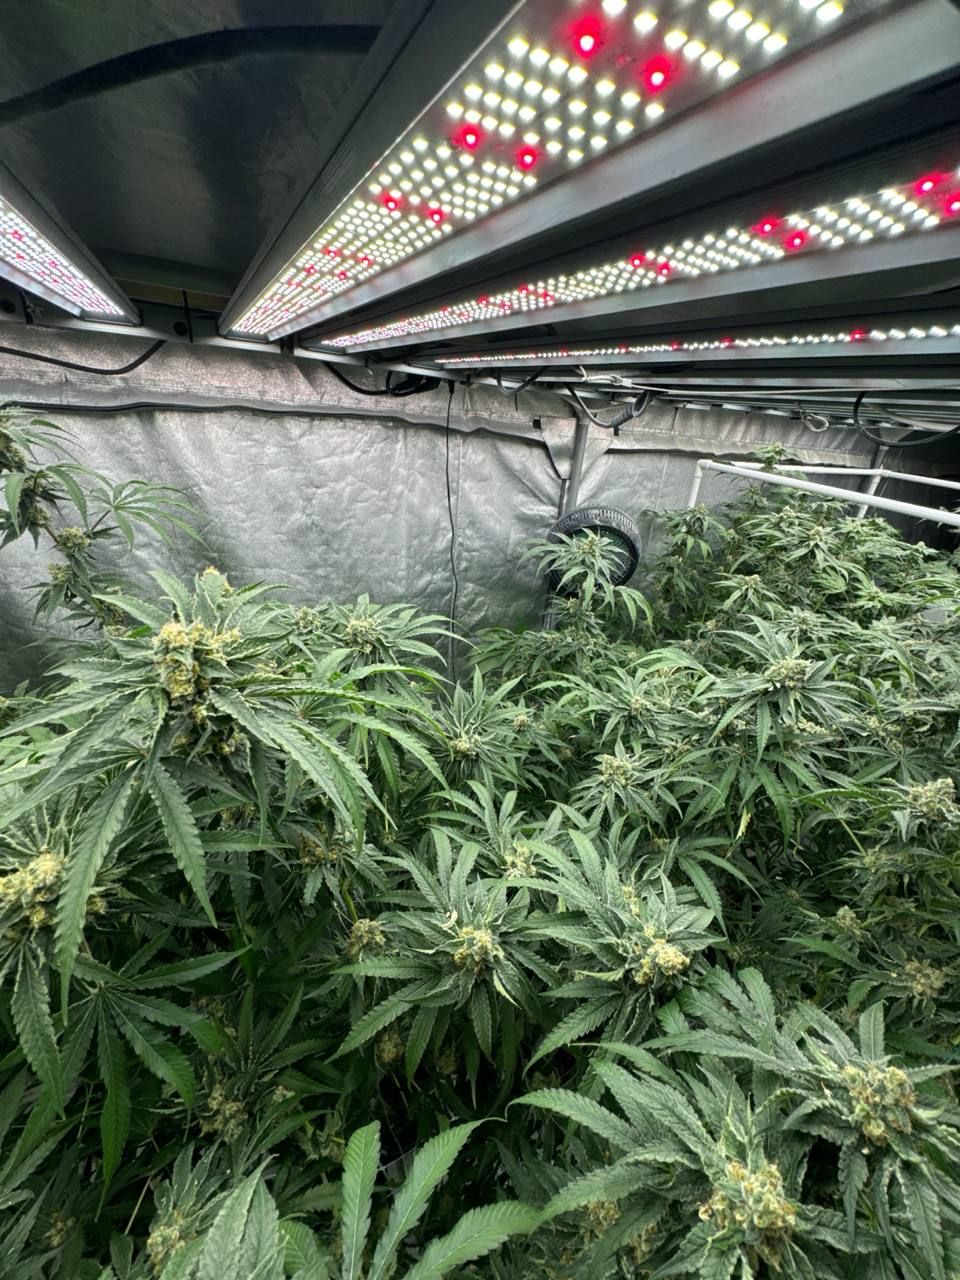
At this stage, the plants enter their final ripening phase.
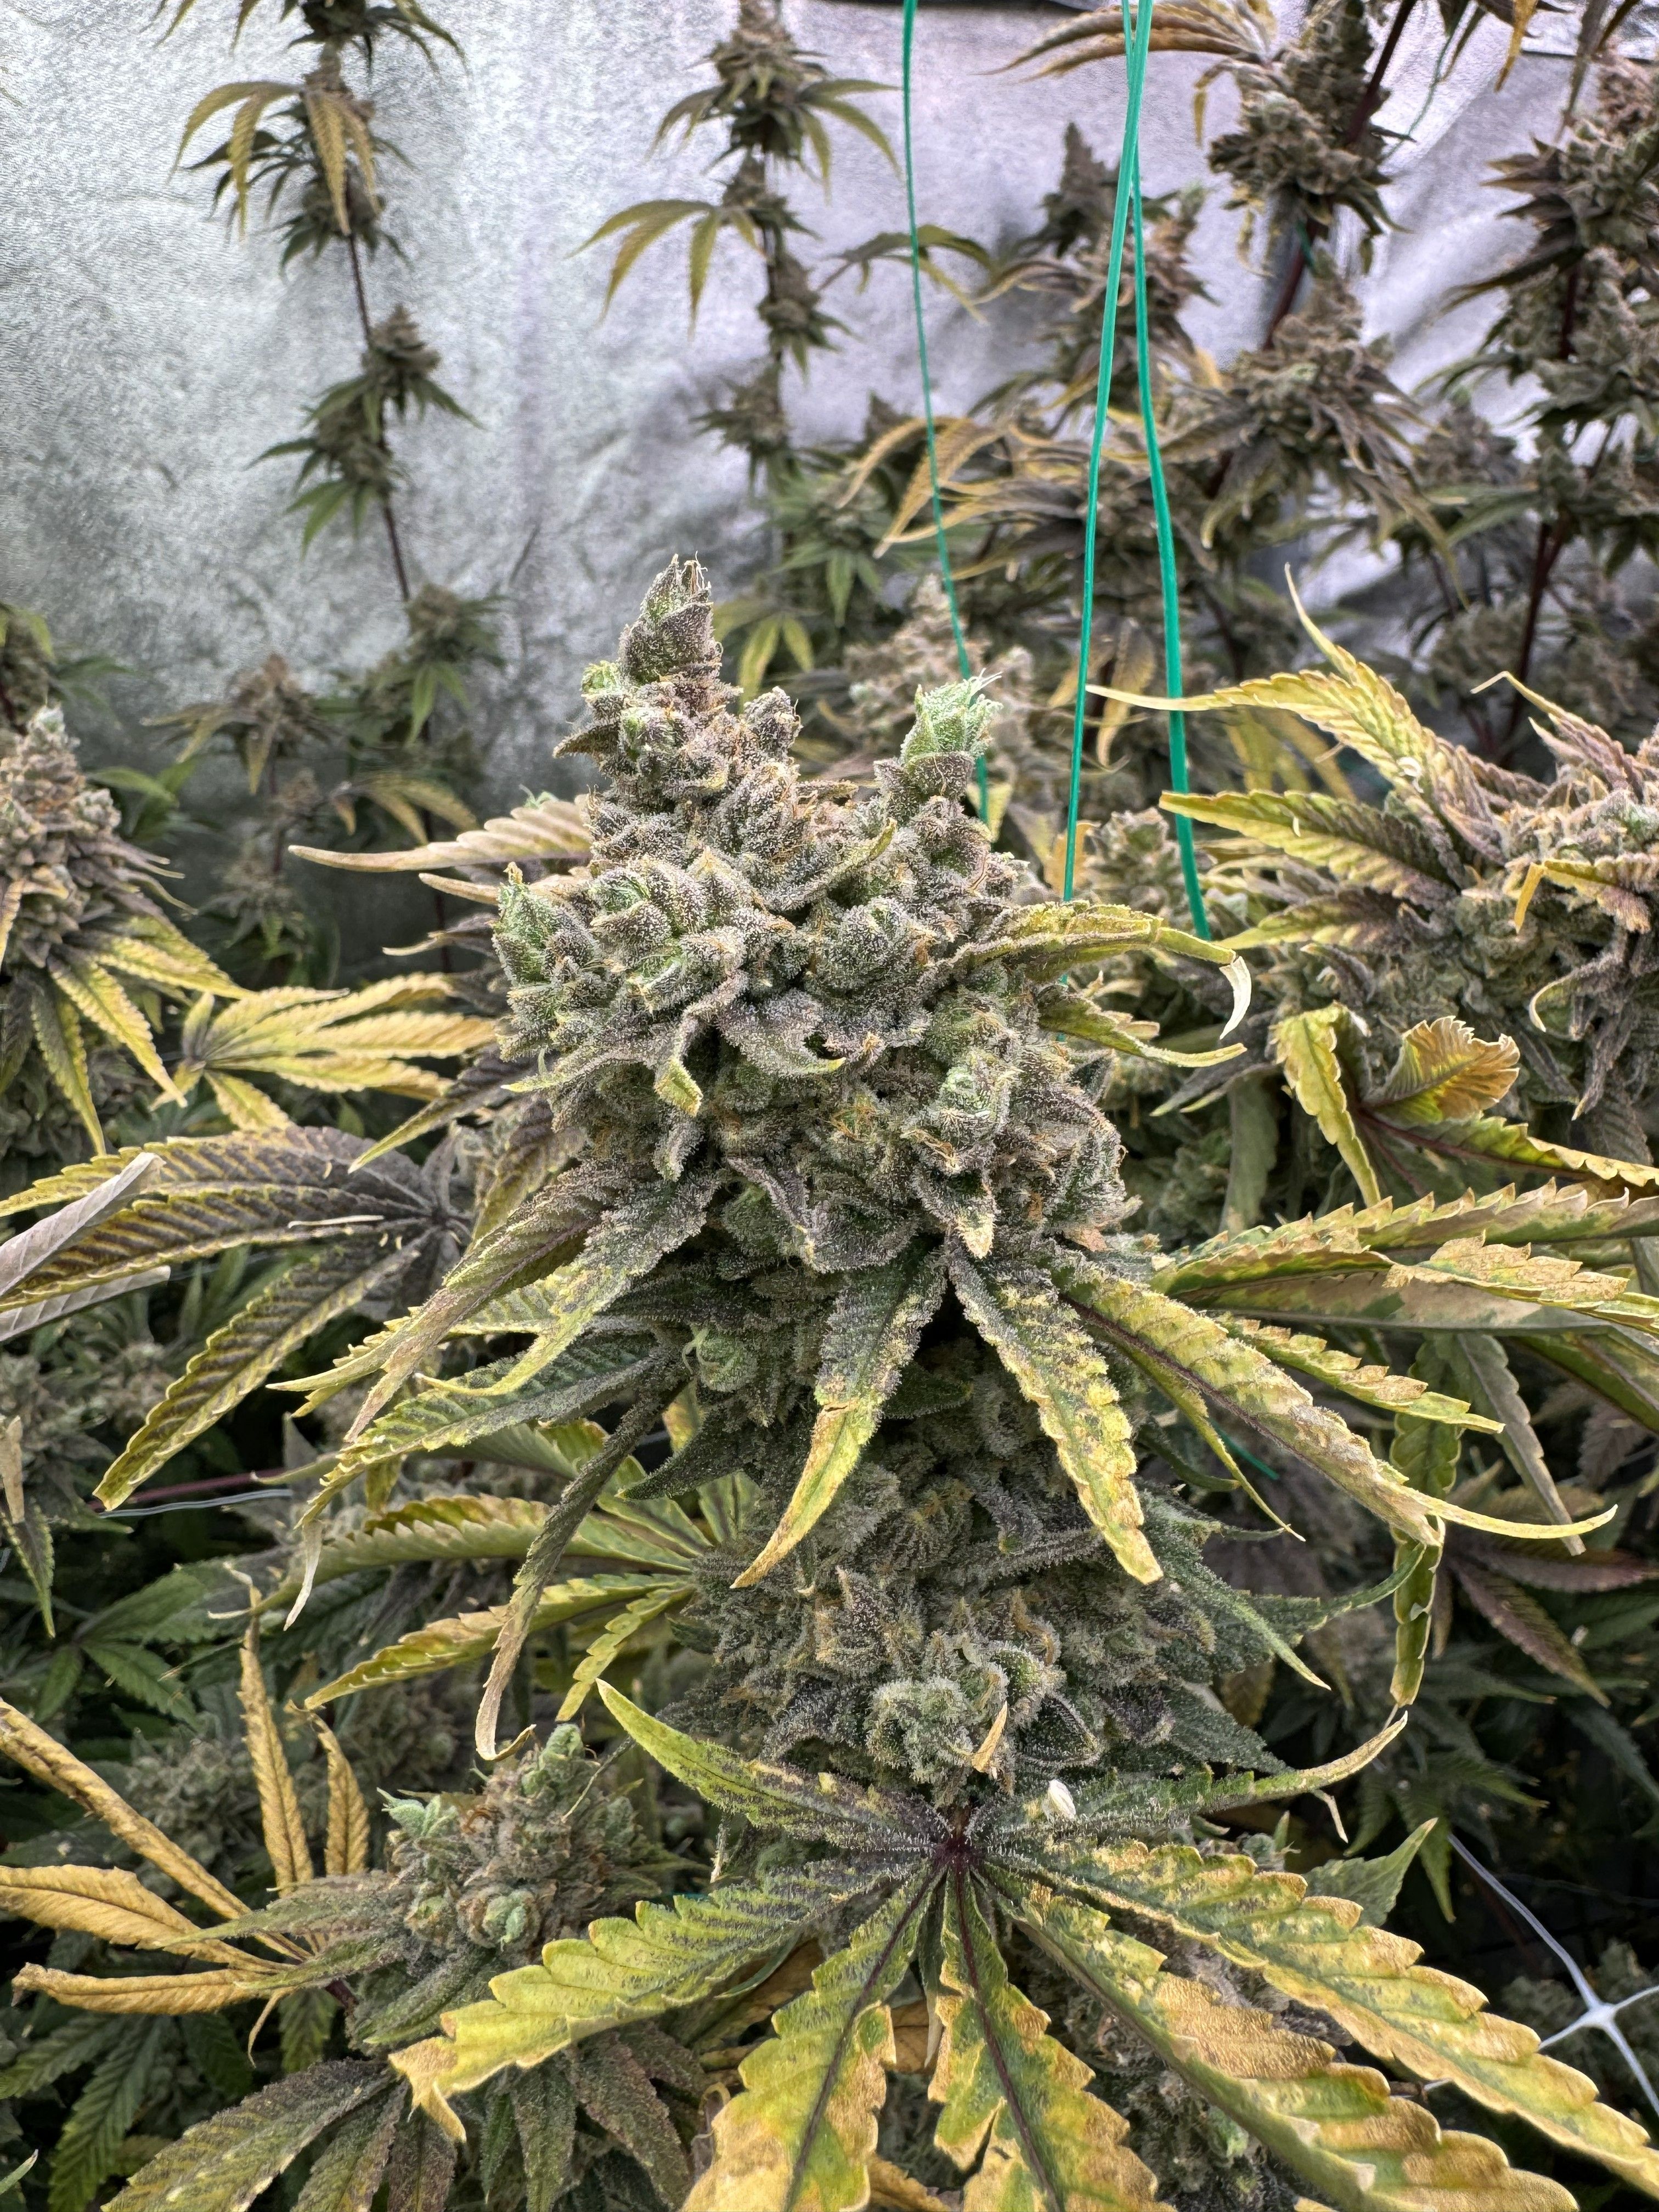
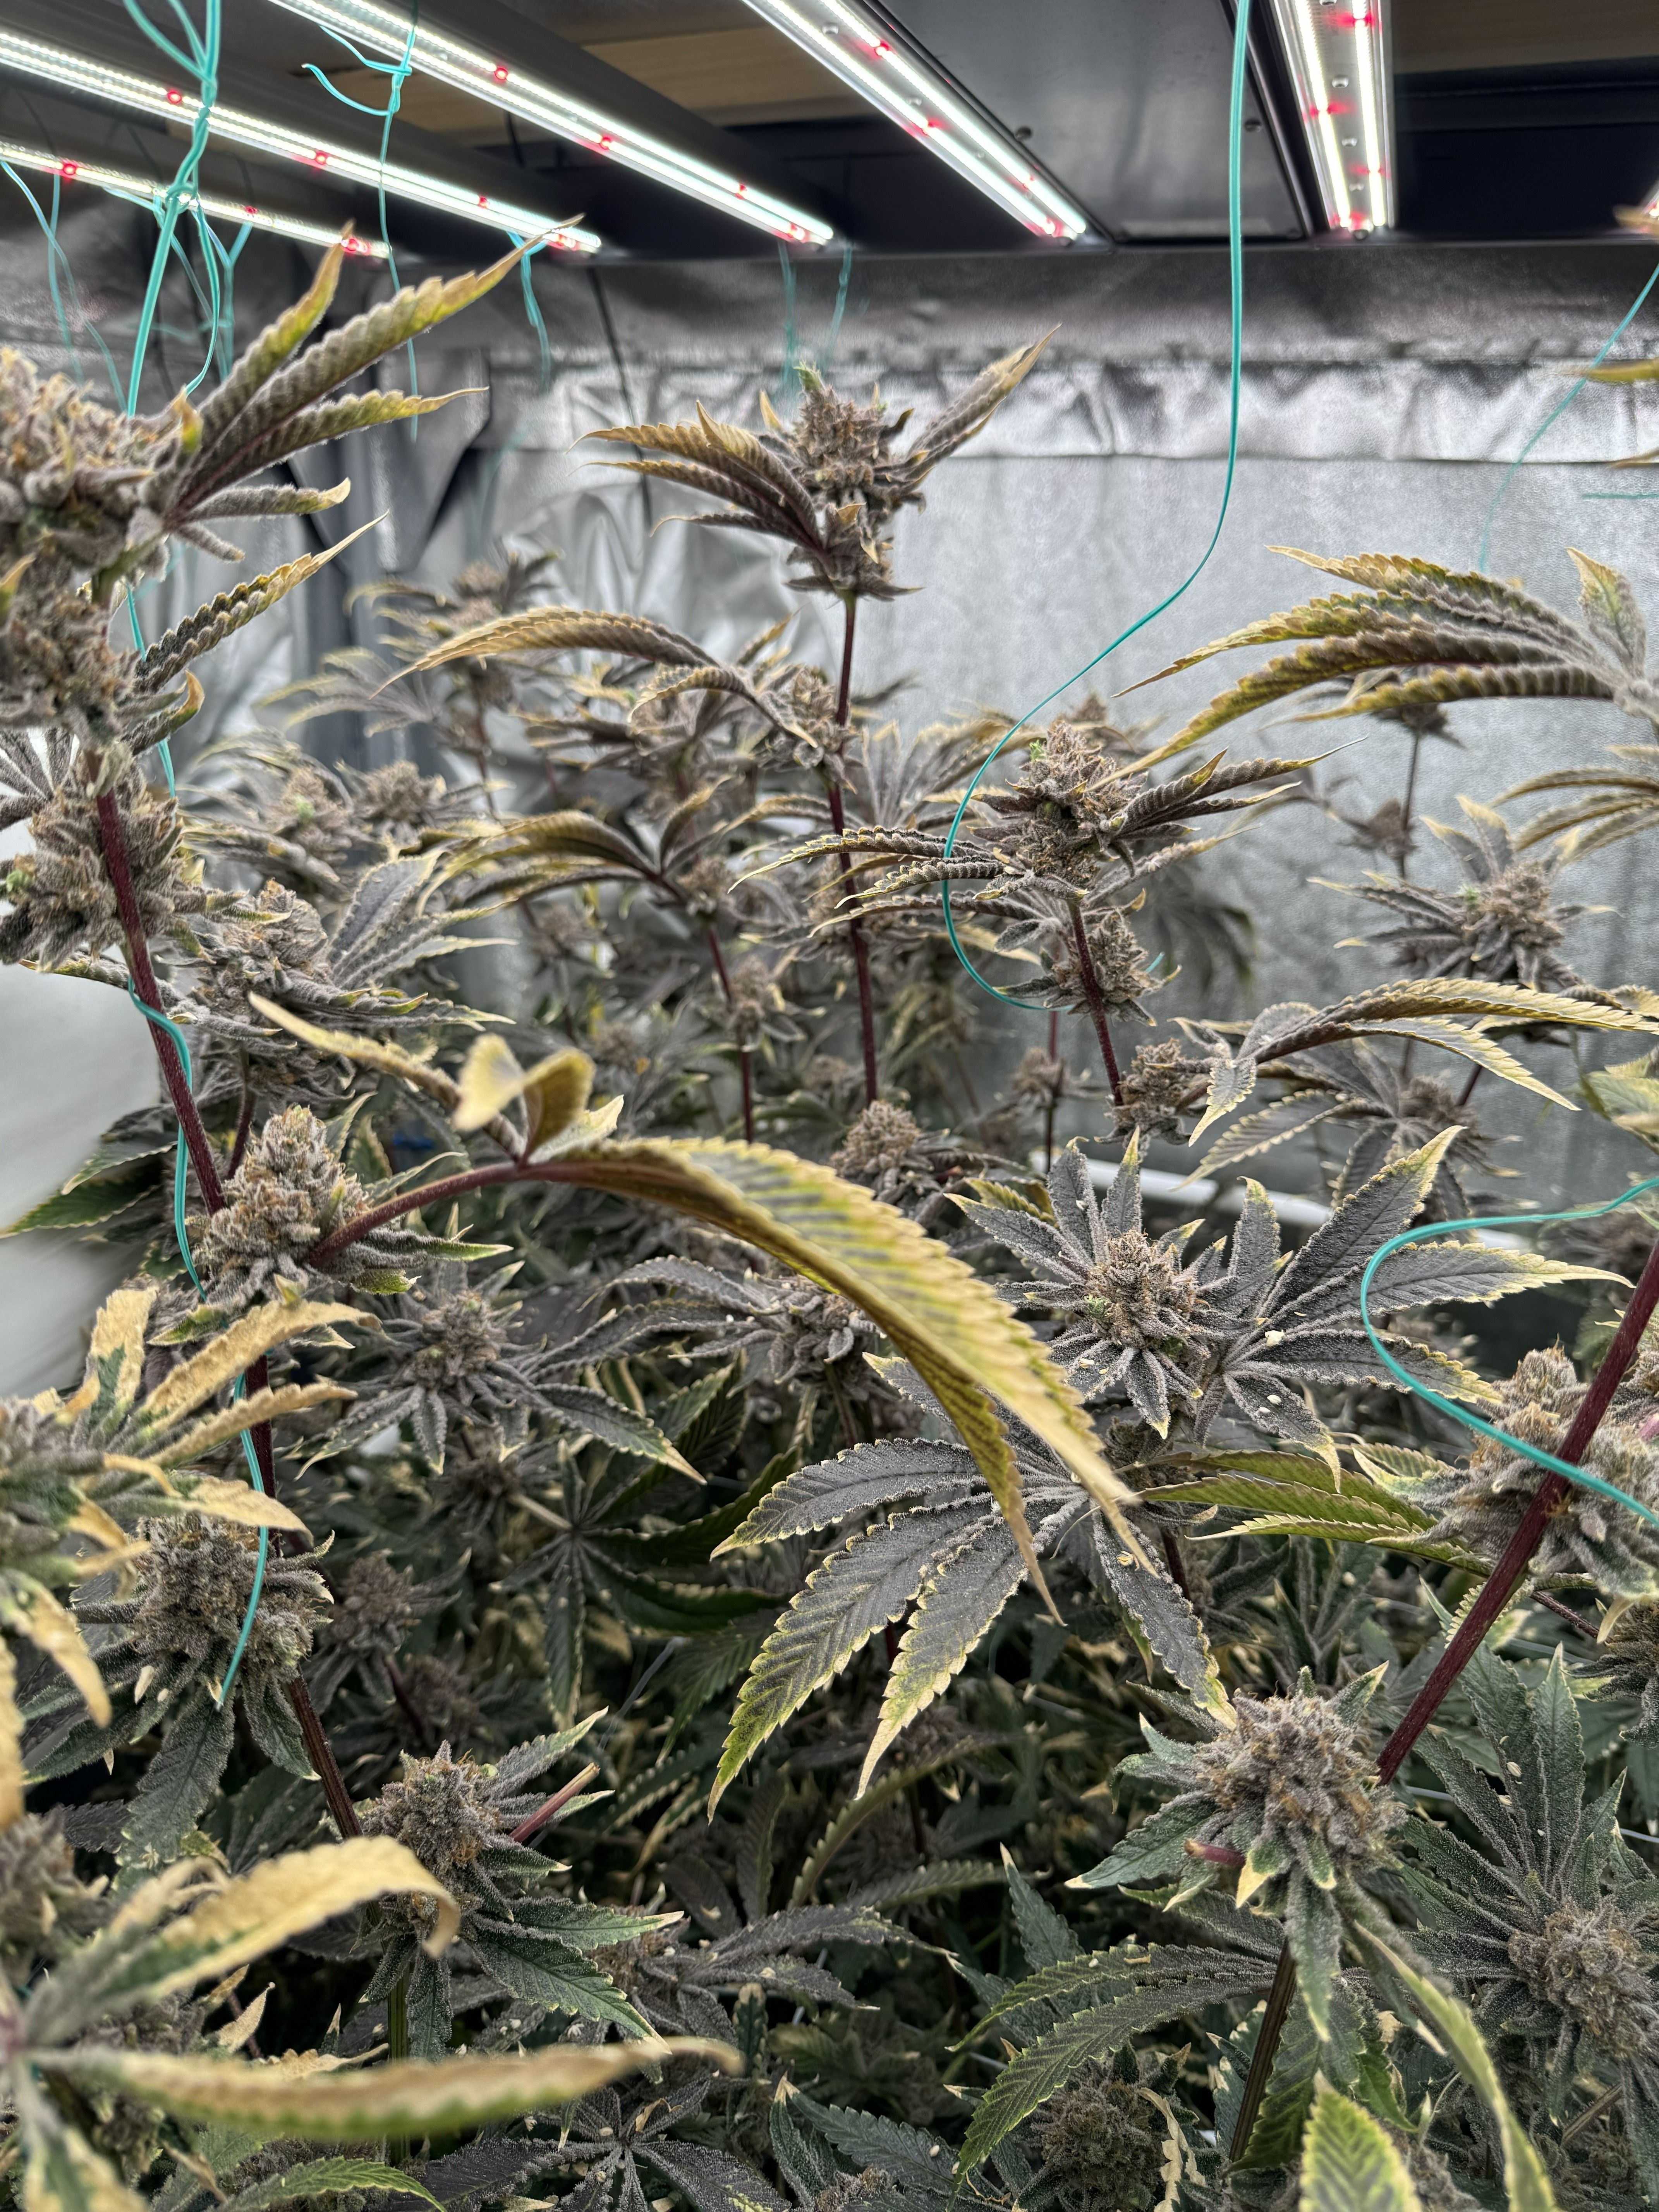
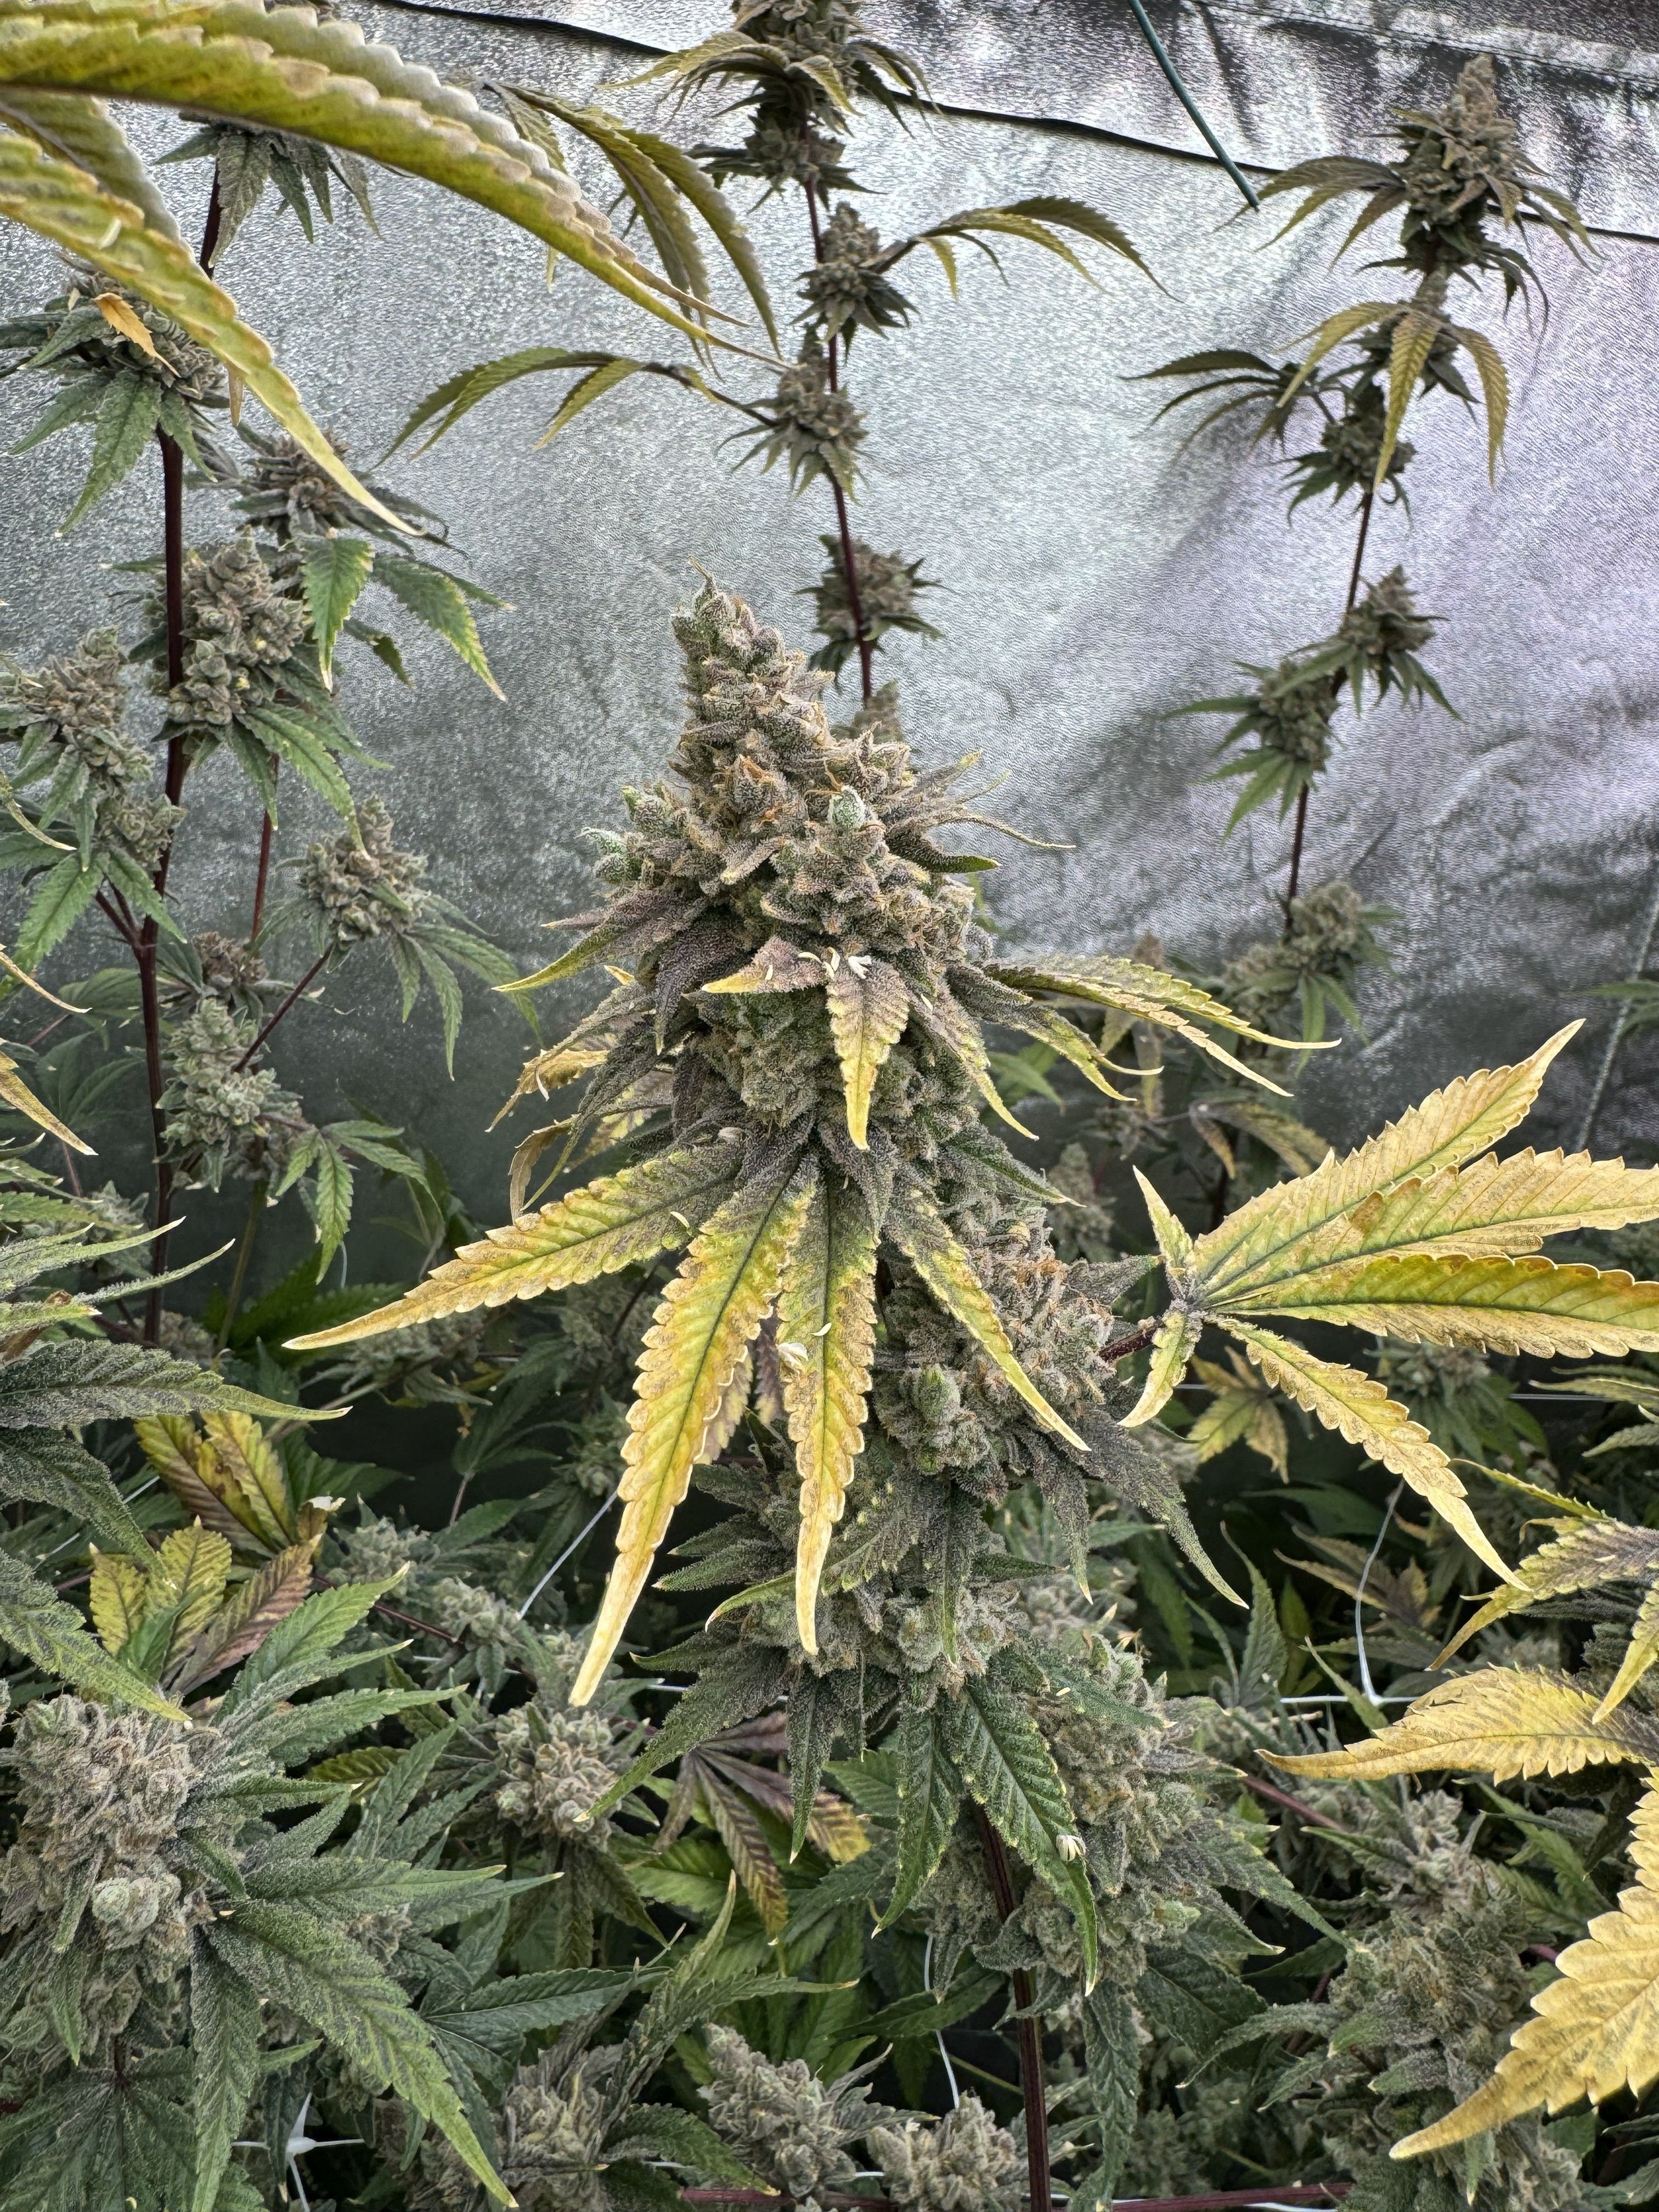
Since the plants are now focused on fully developing and maturing the seeds, the process takes considerably longer than a standard flowering cycle. As a result, the mothers begin to look much more tired and worn down as they approach the end of the cycle.
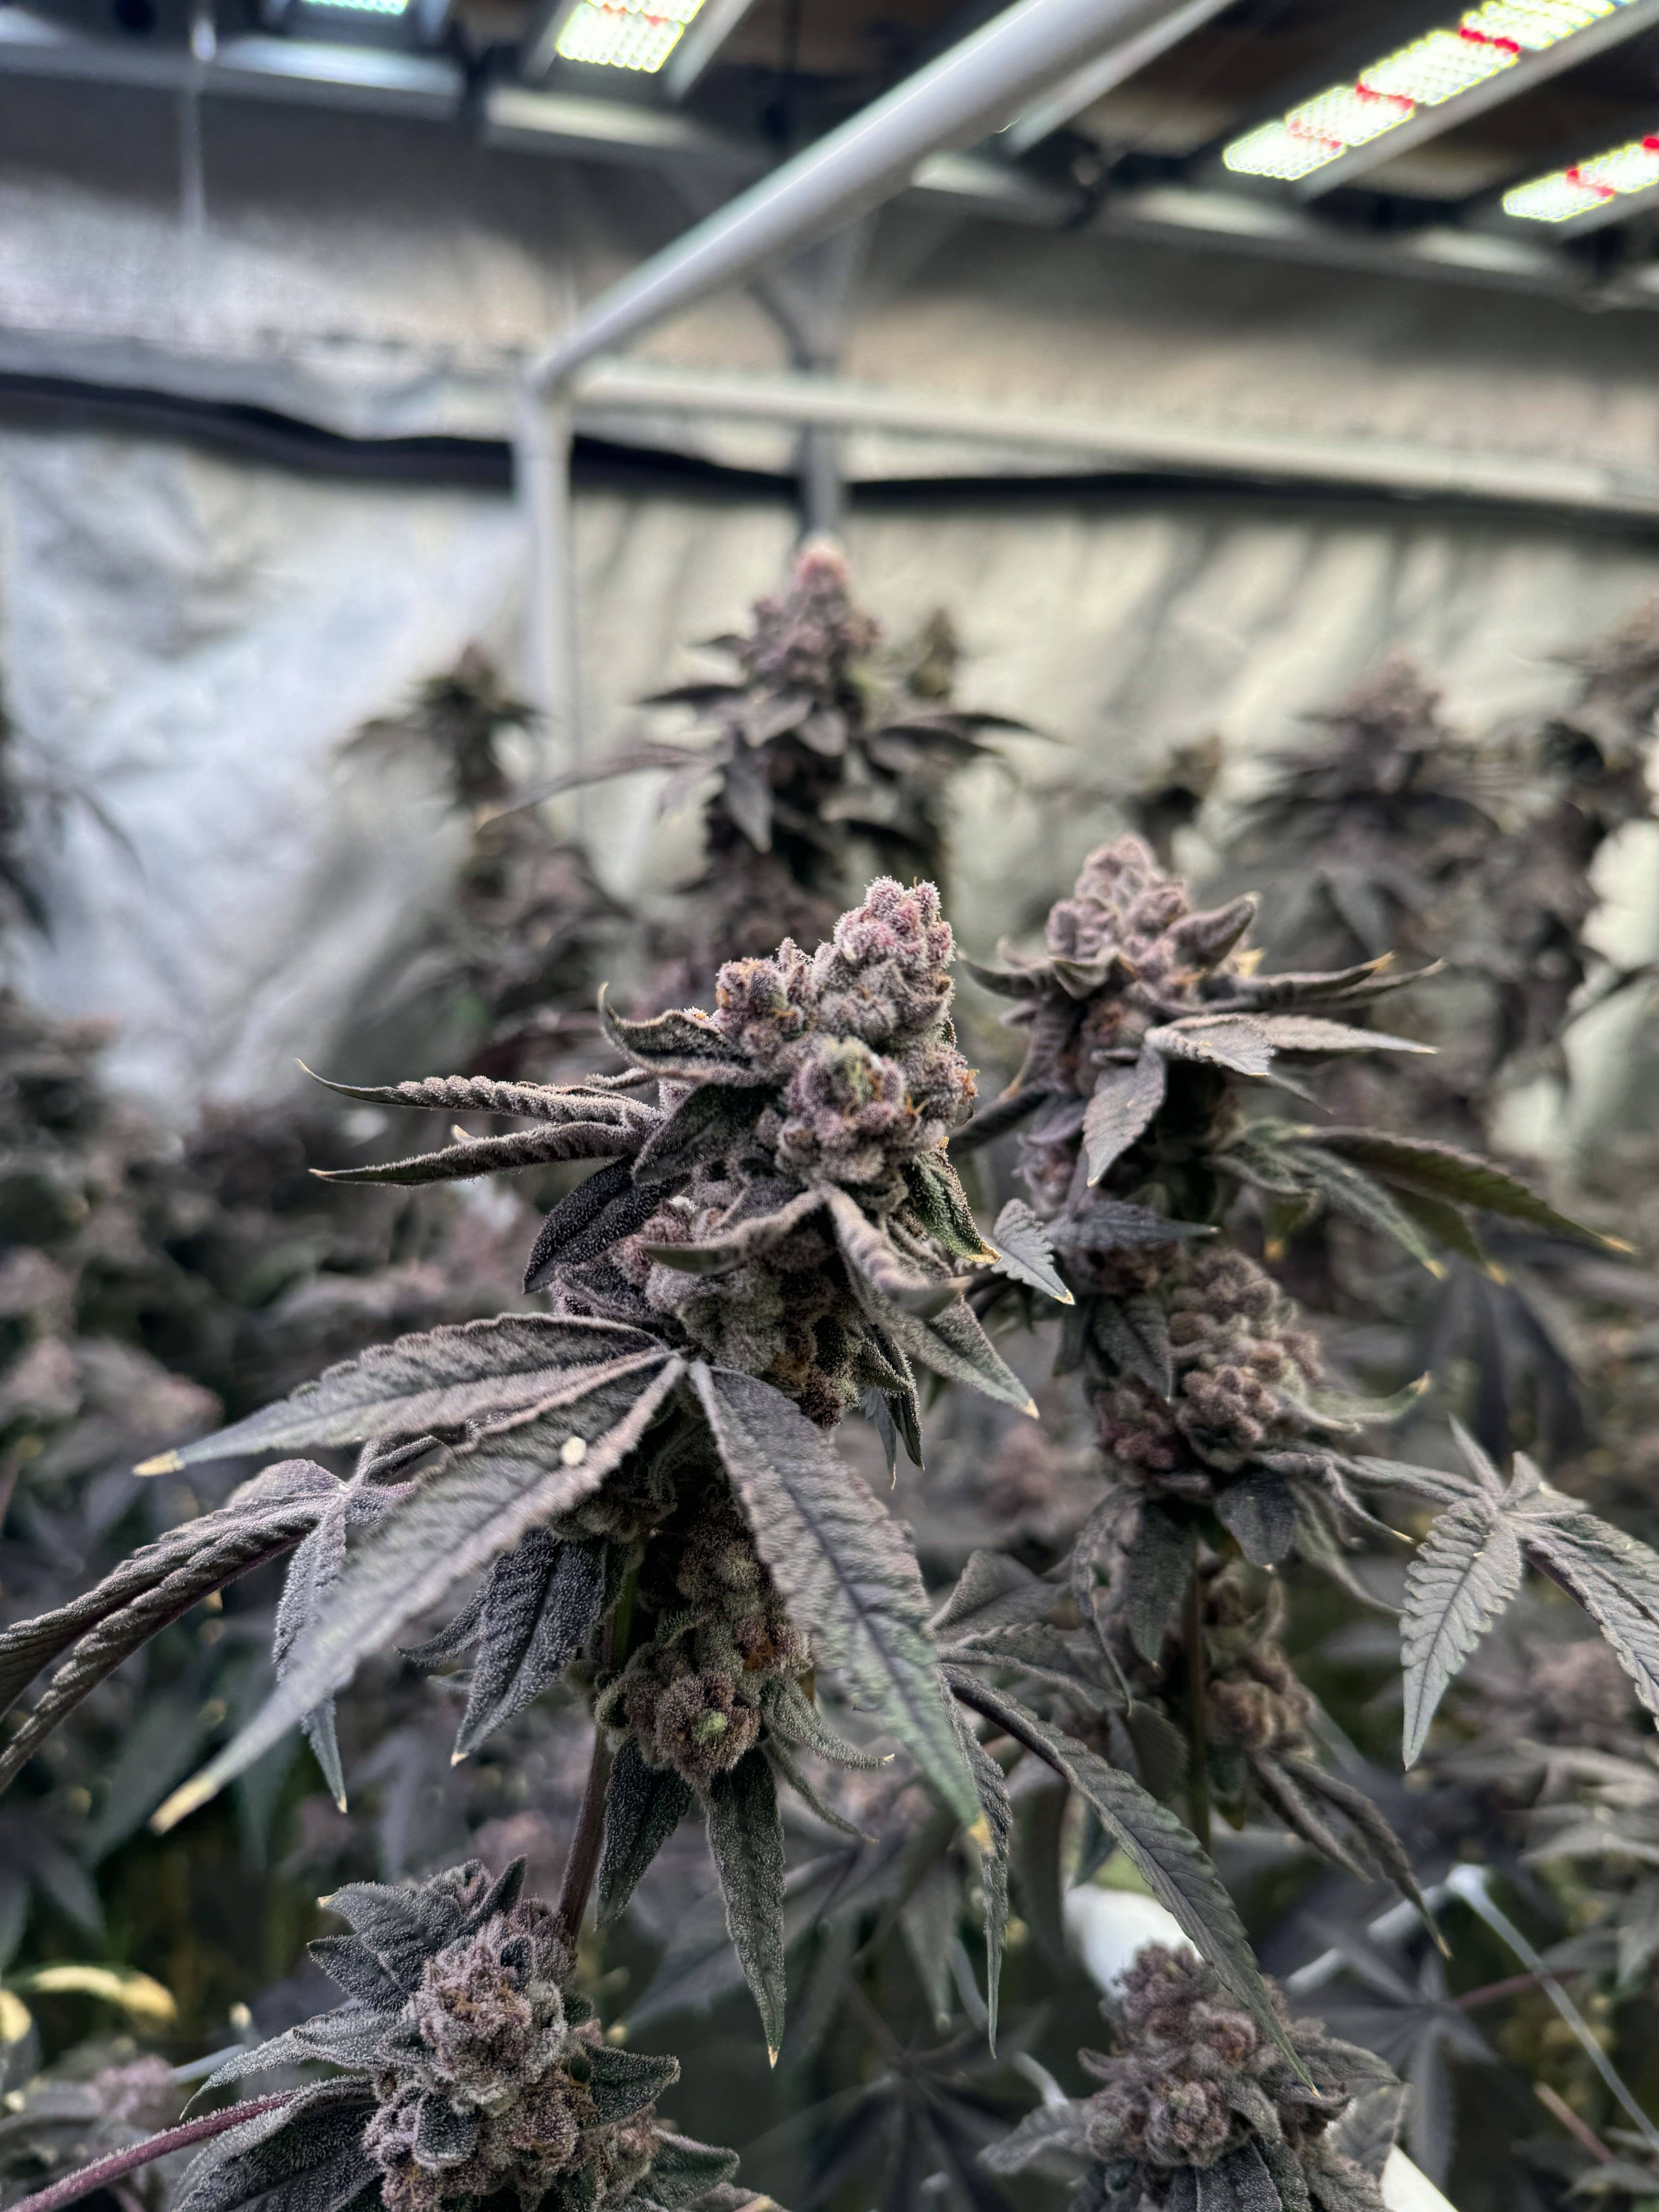
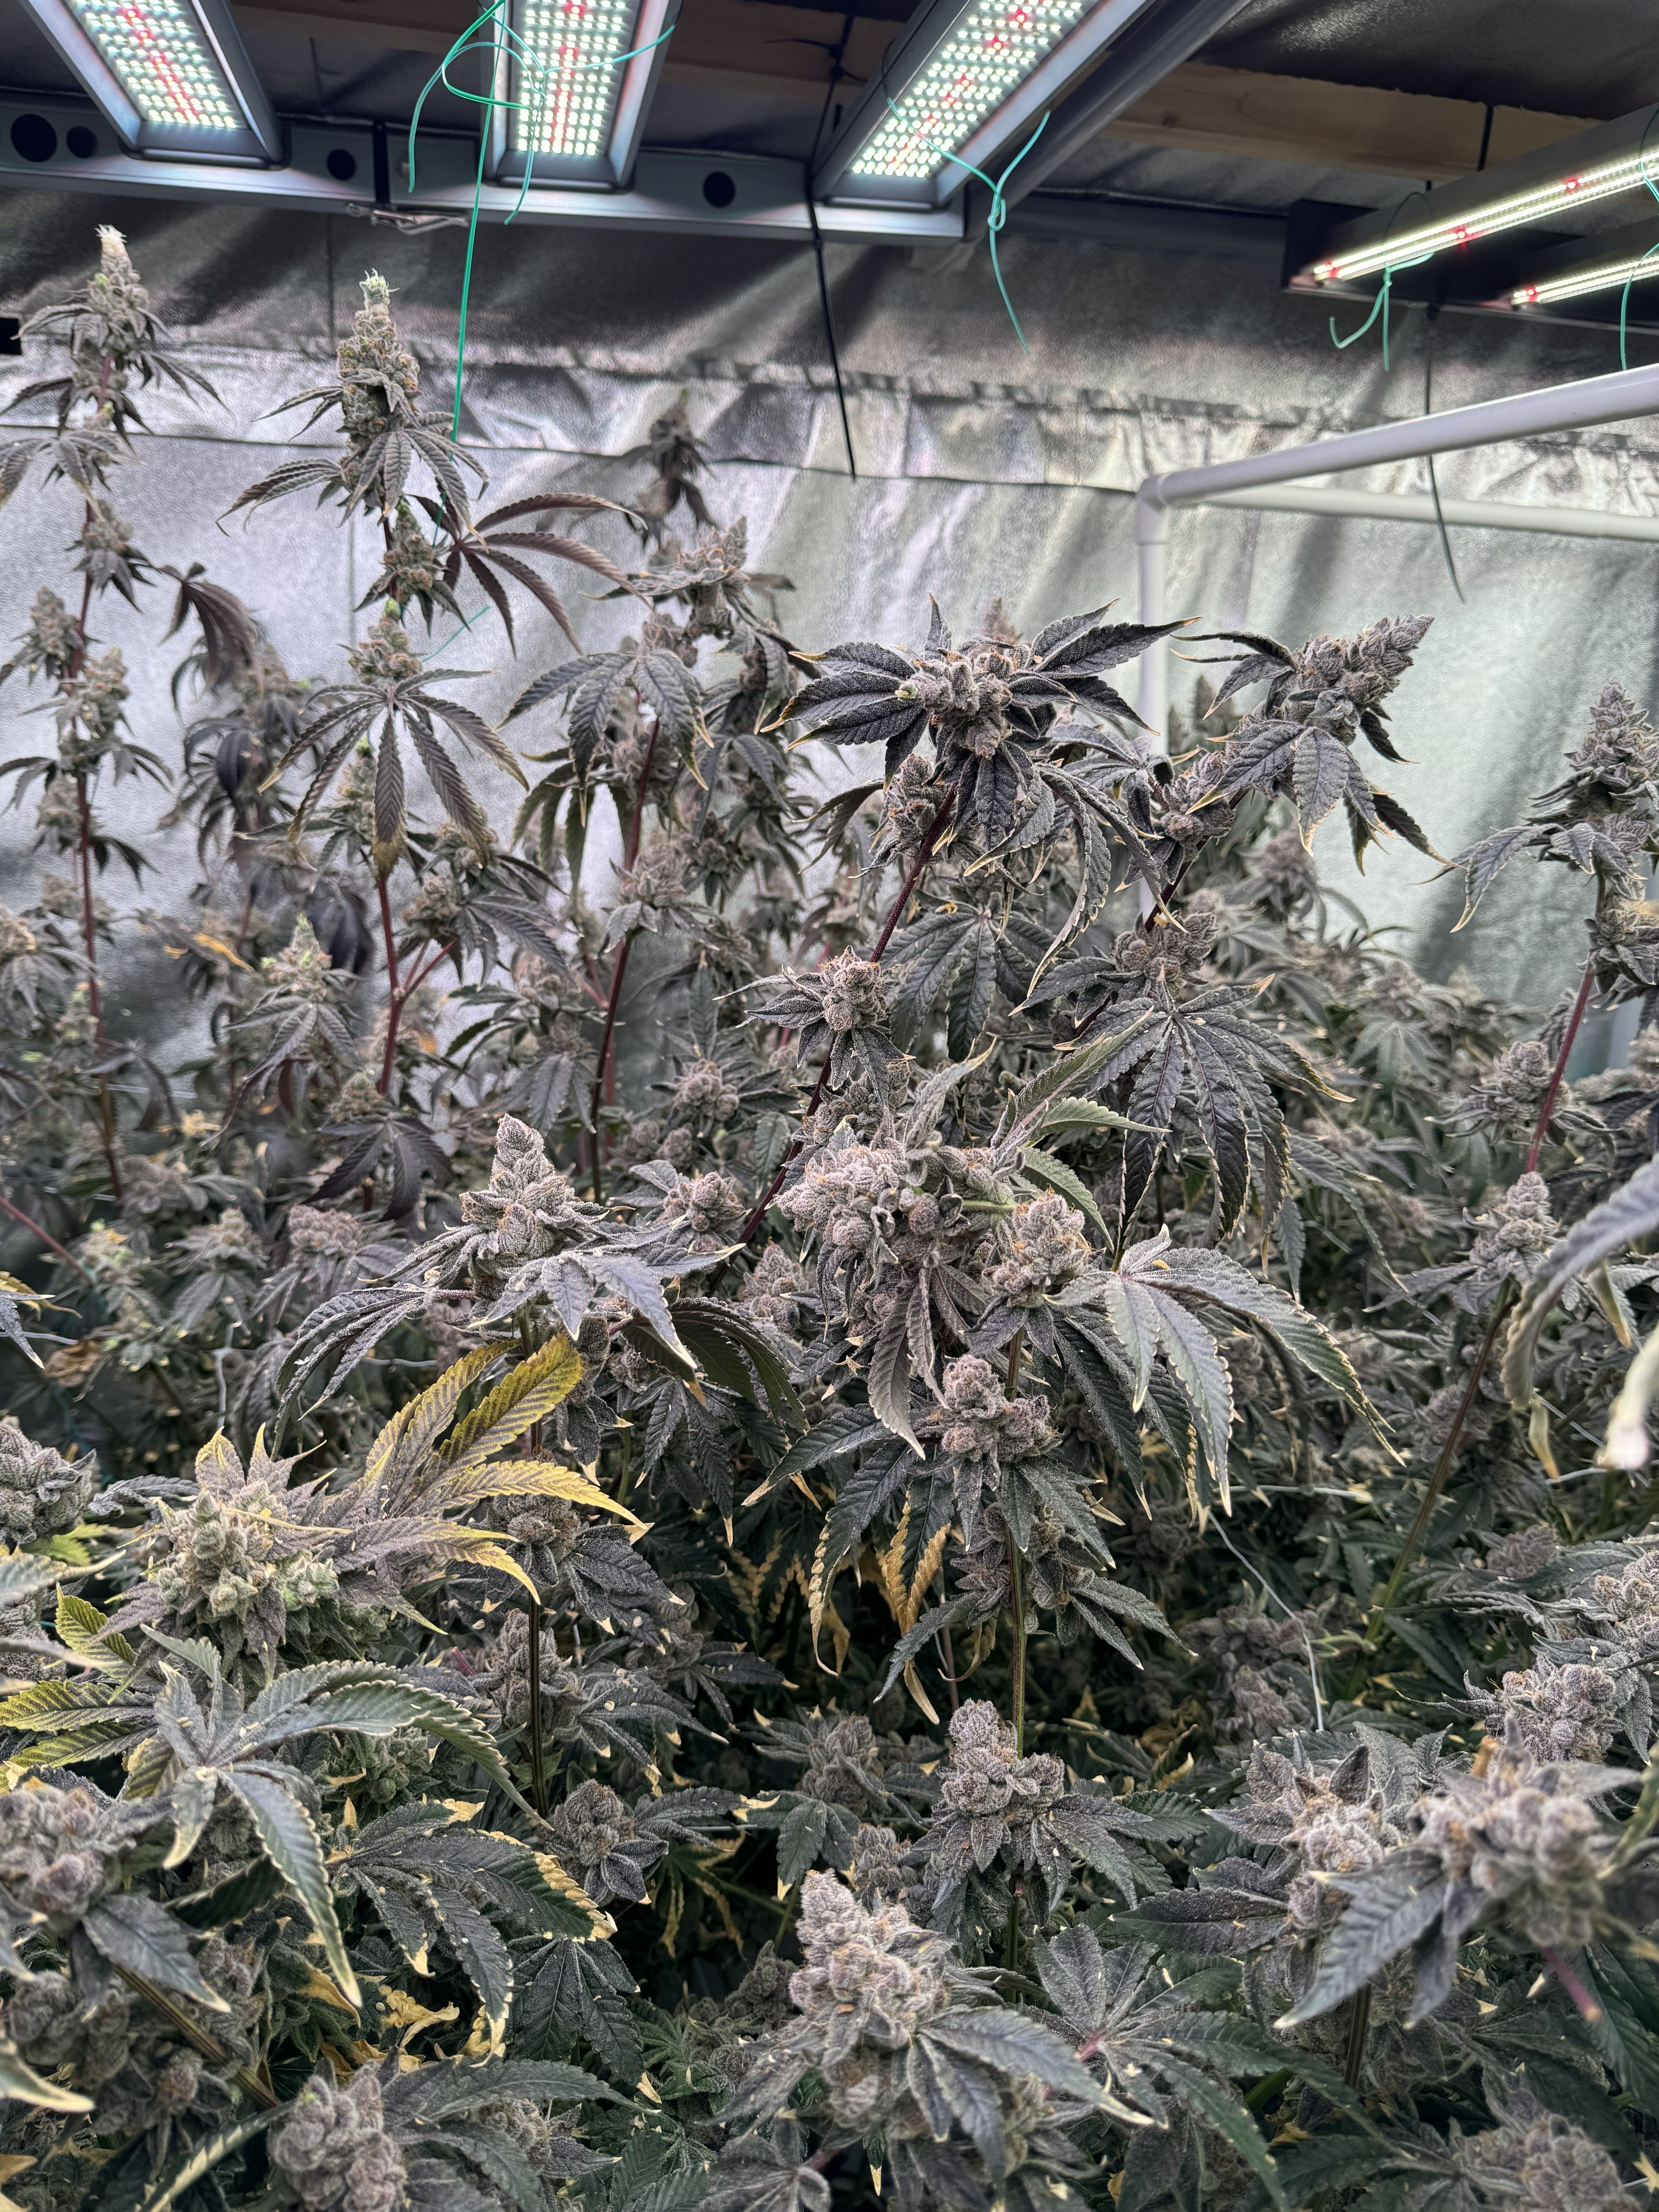
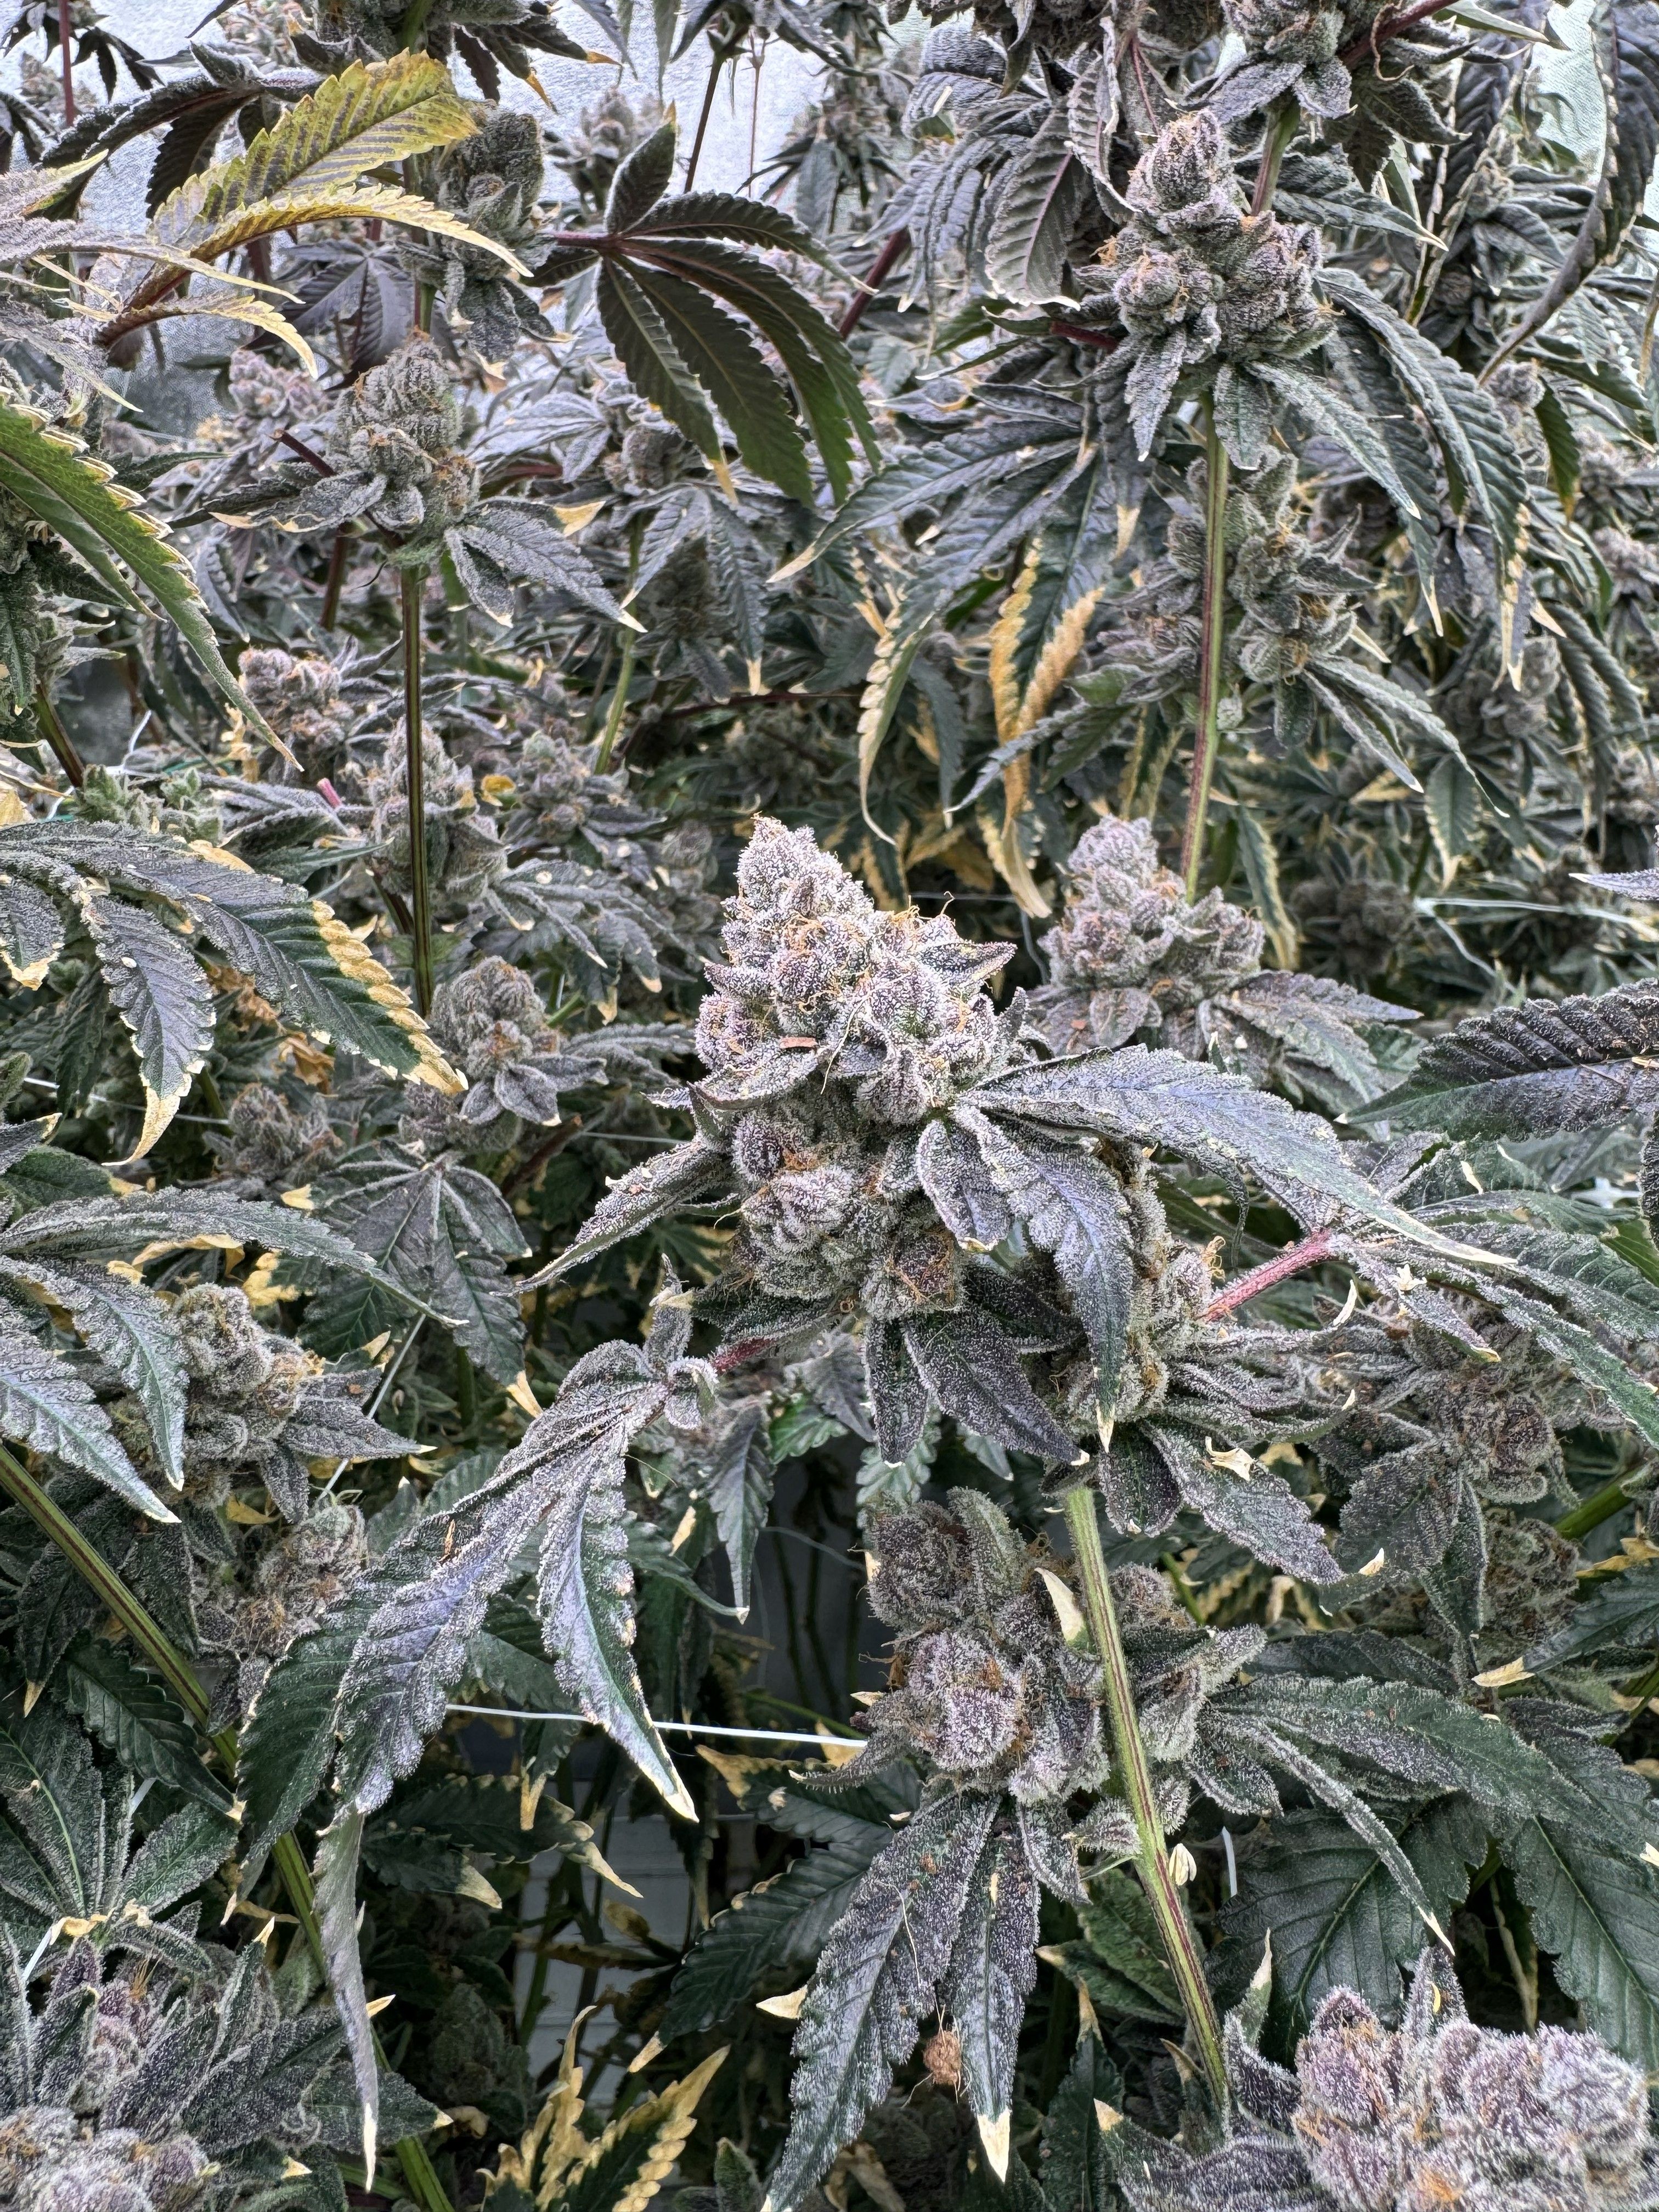
But even in their final days, the plants still look absolutely incredible.
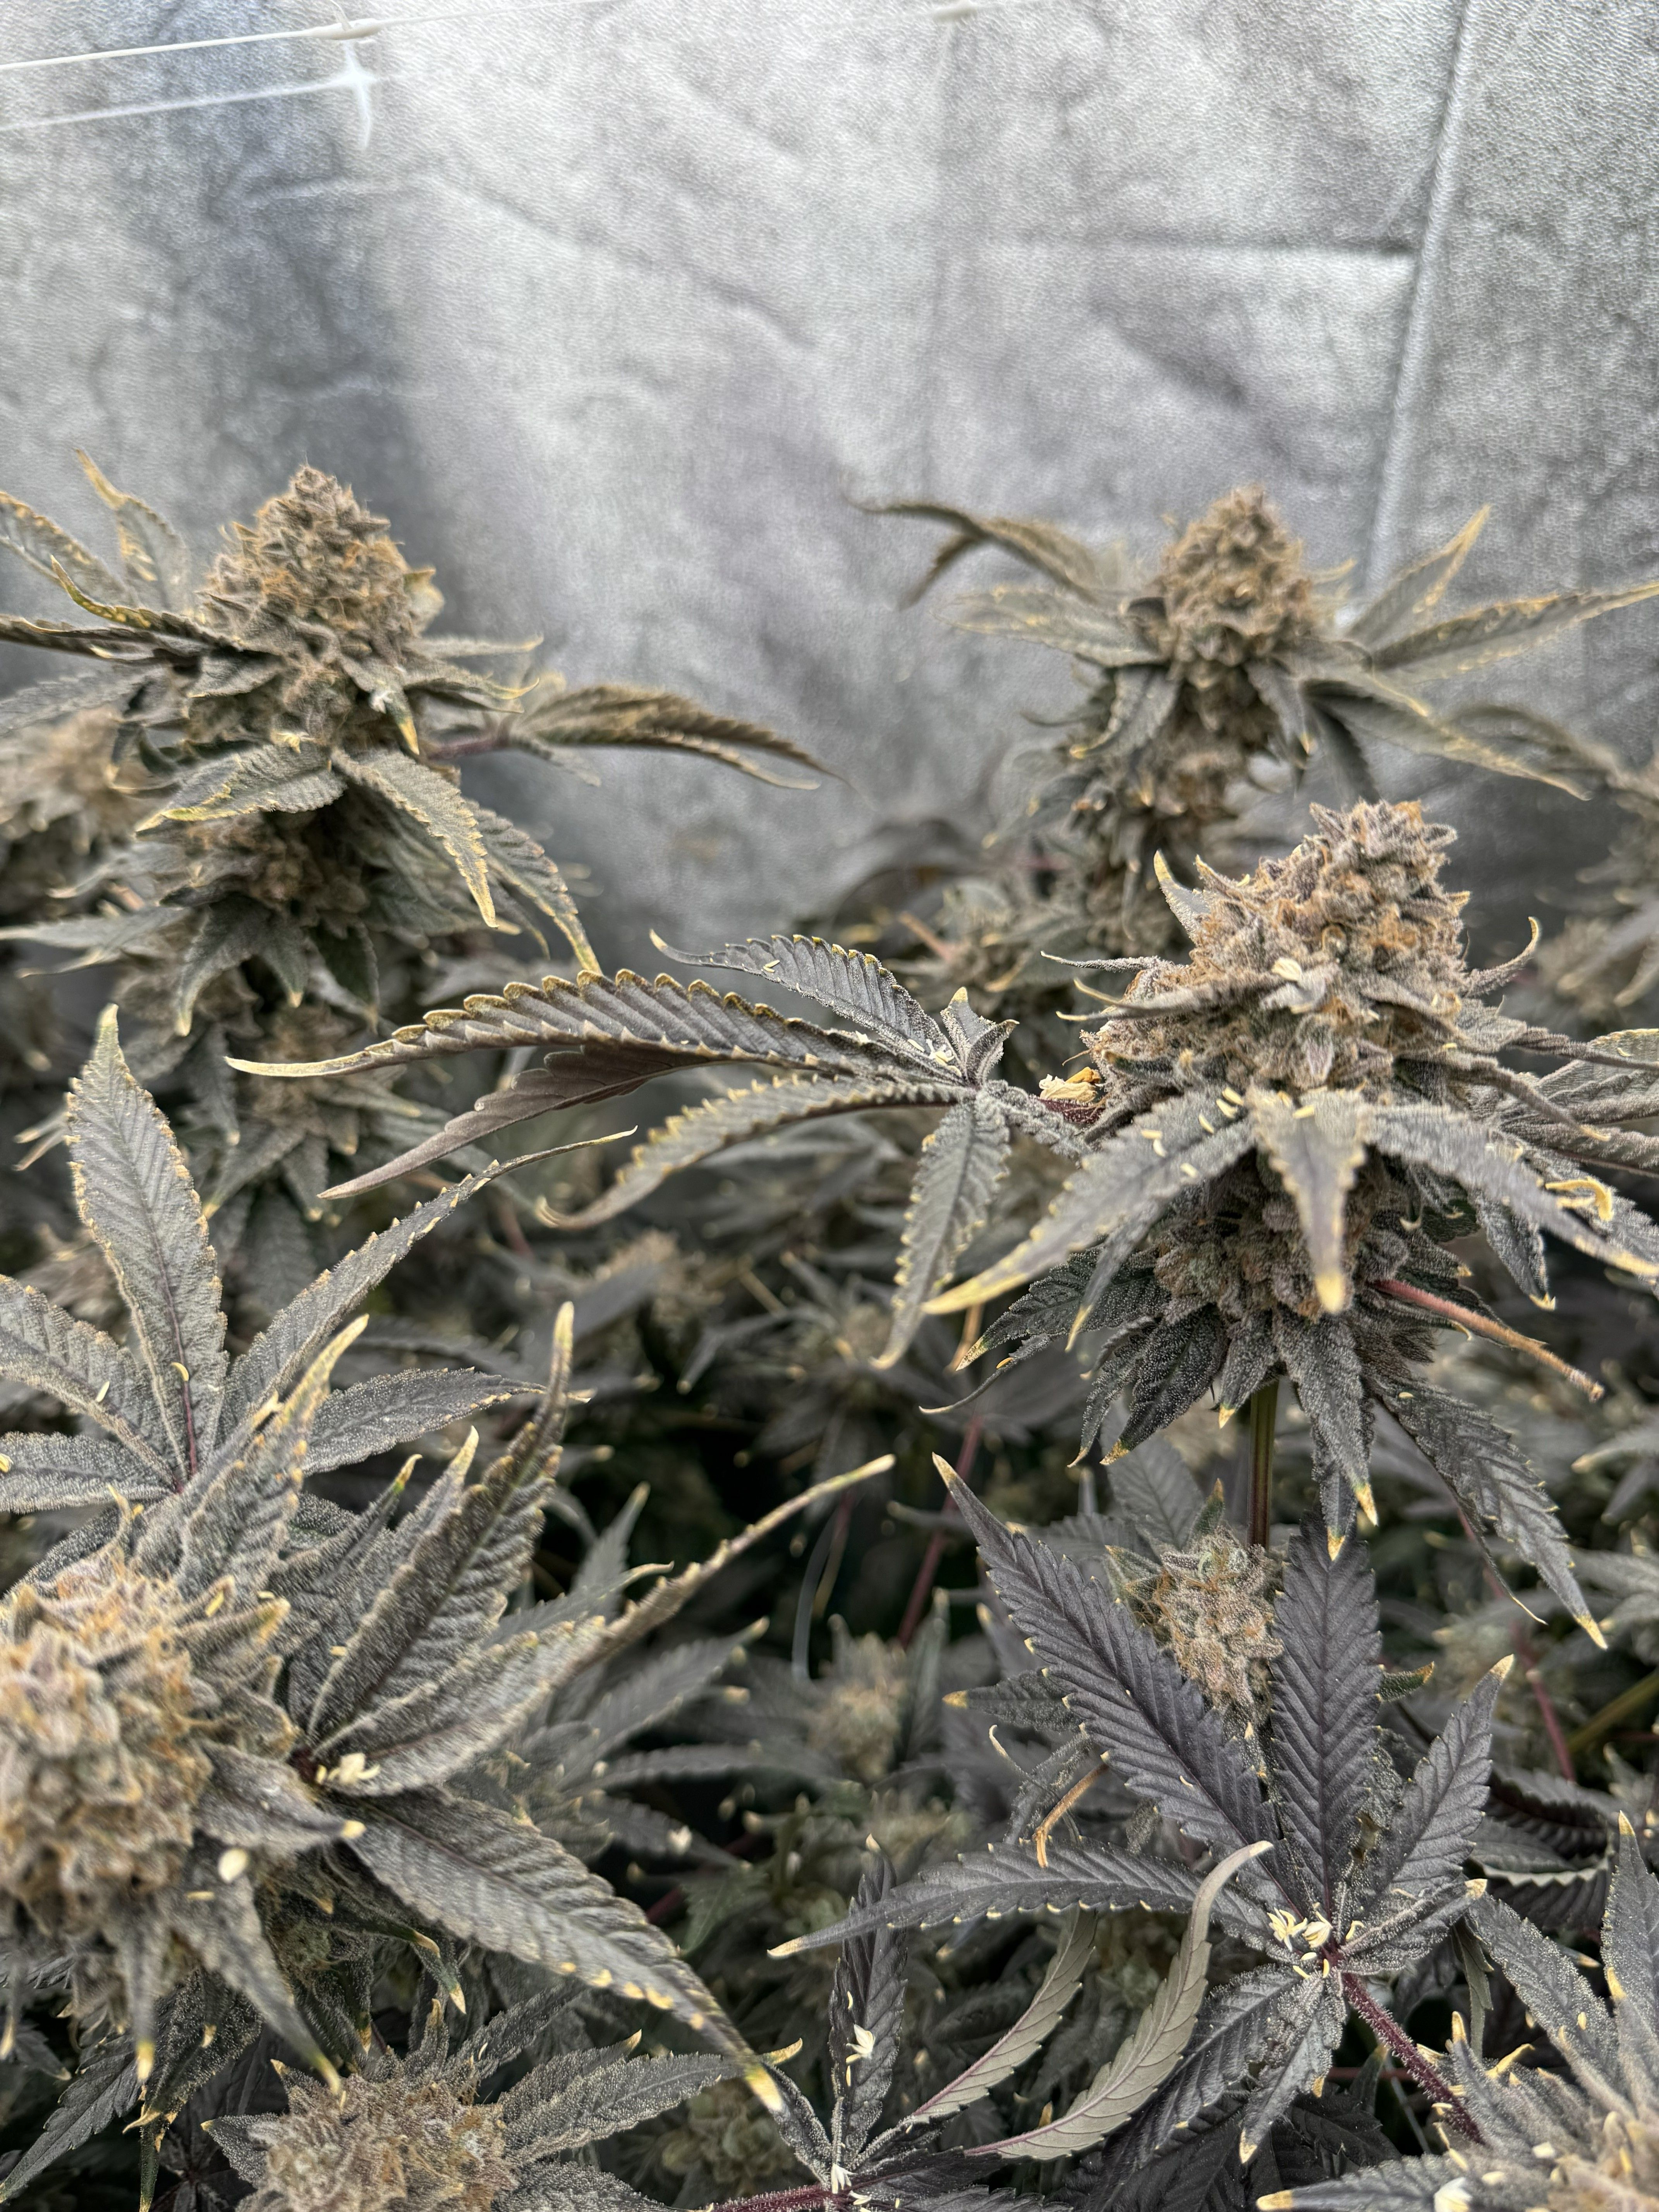
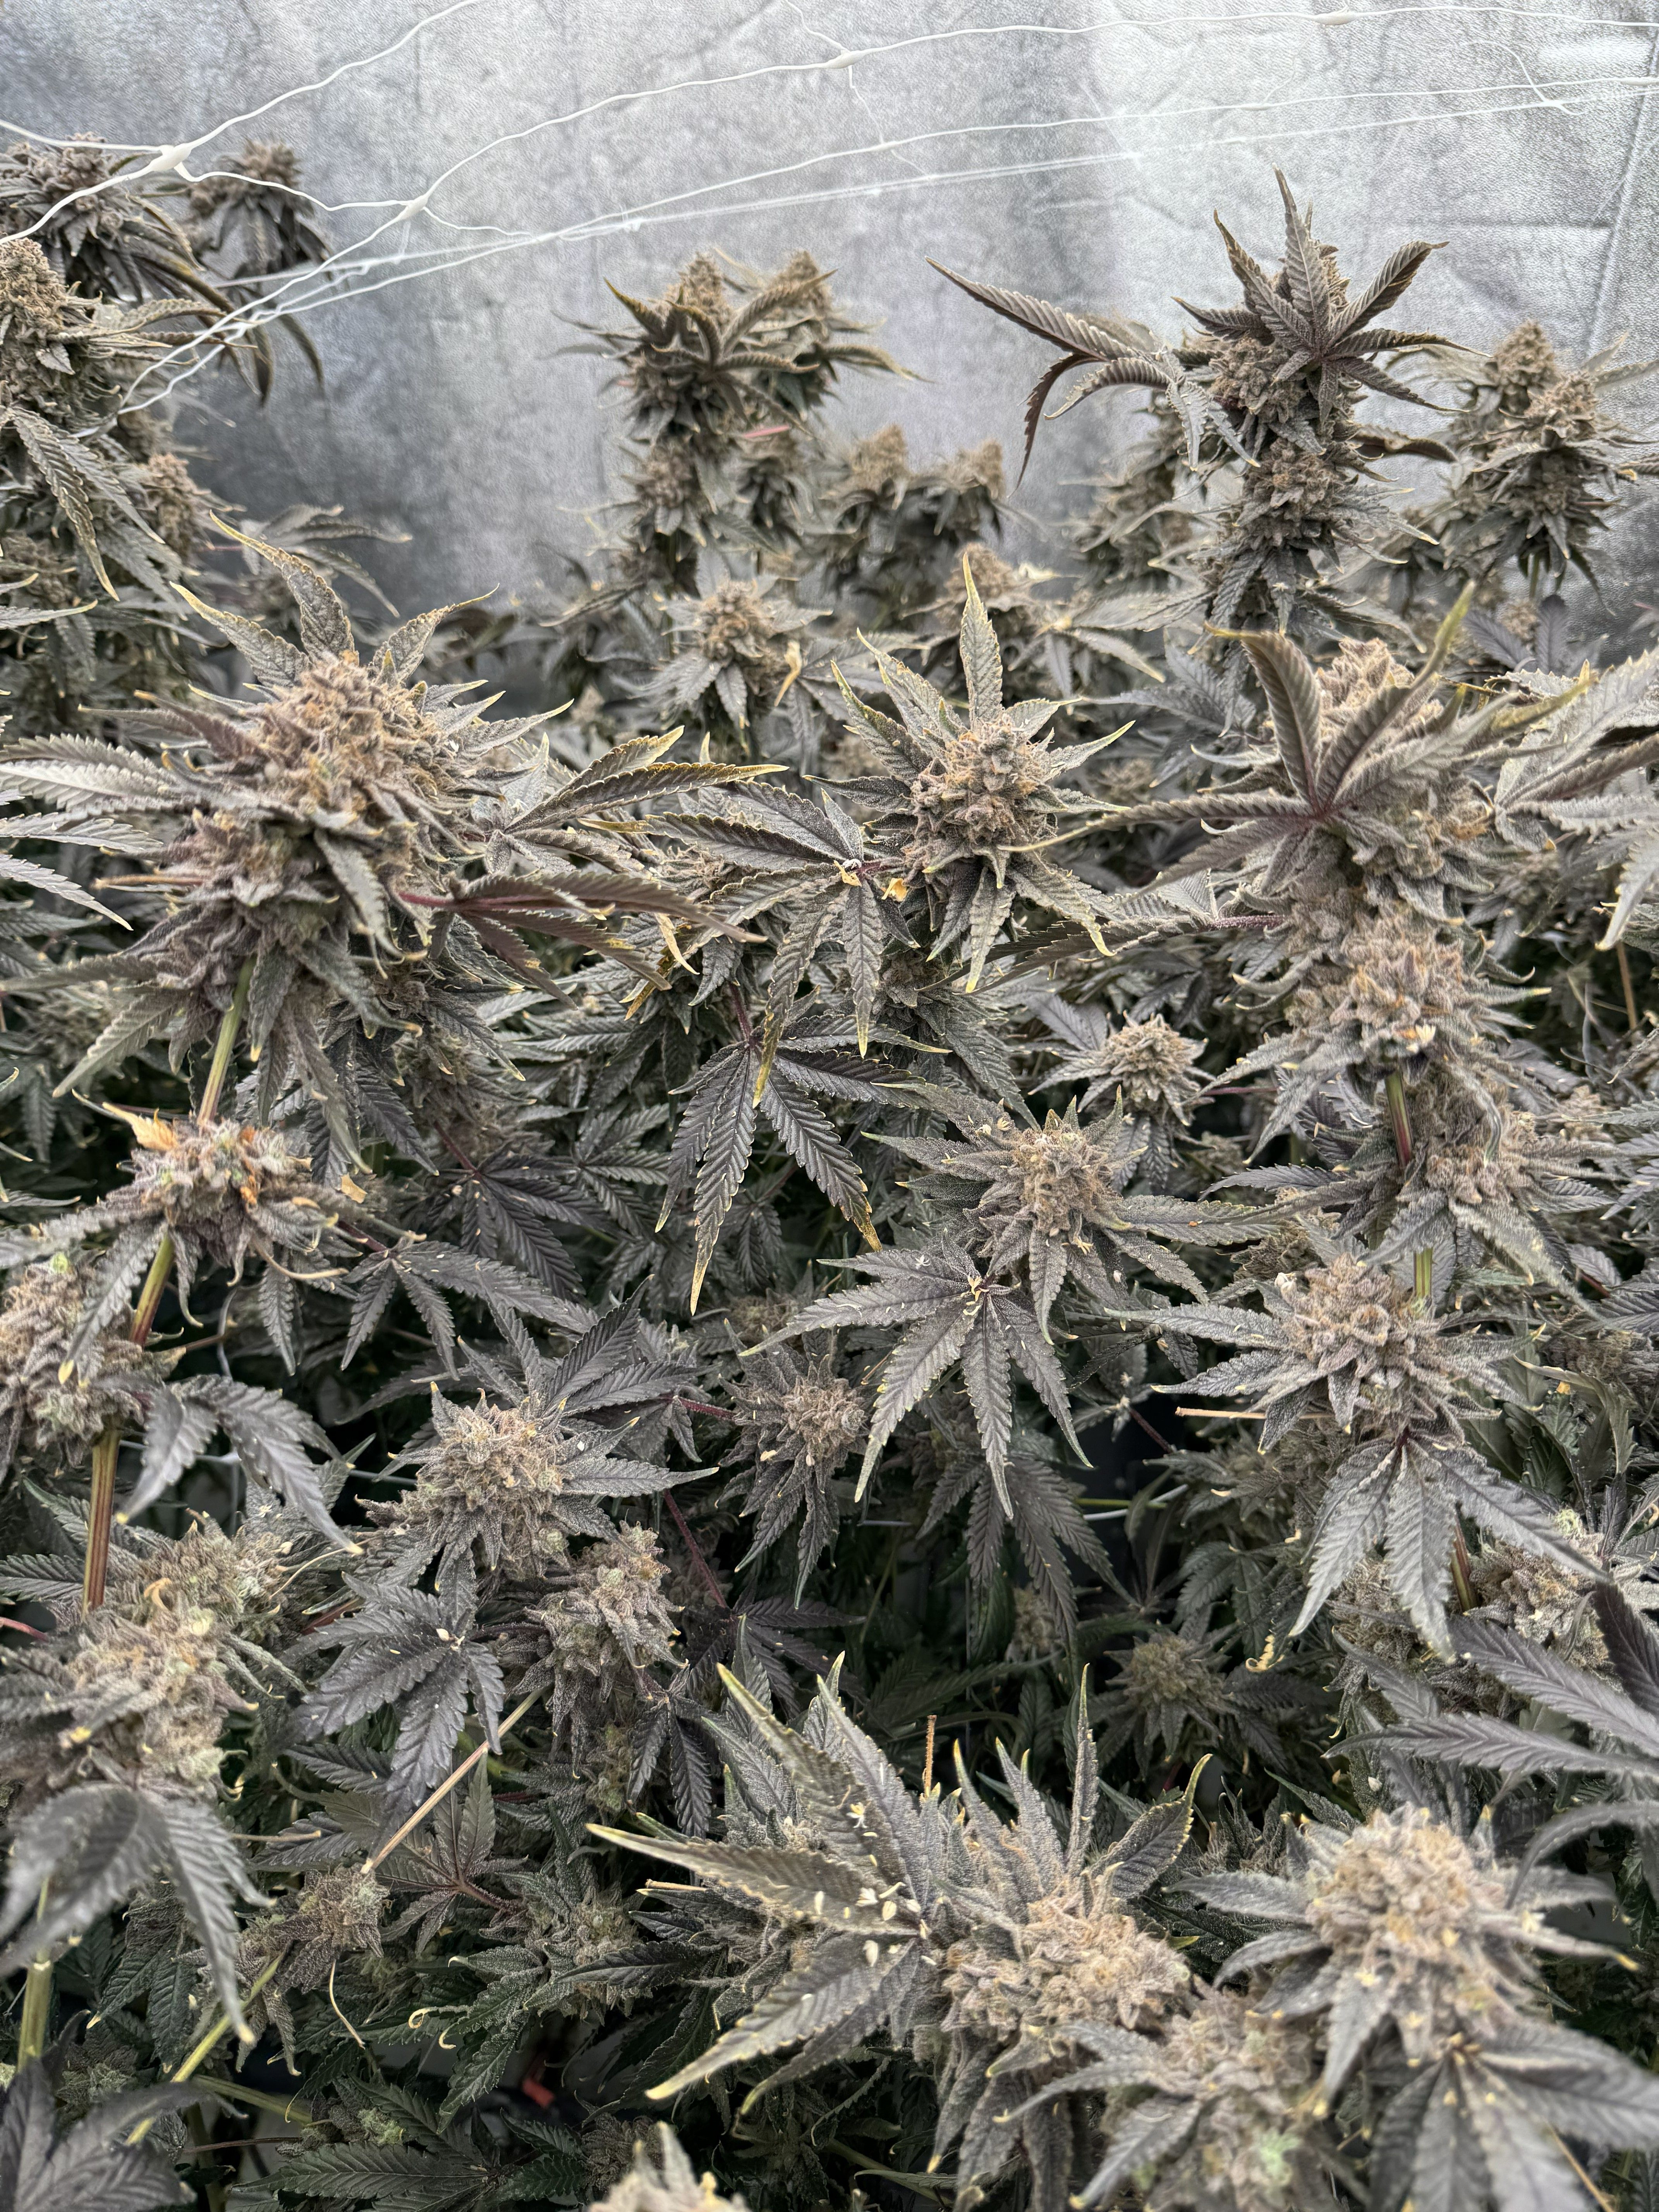
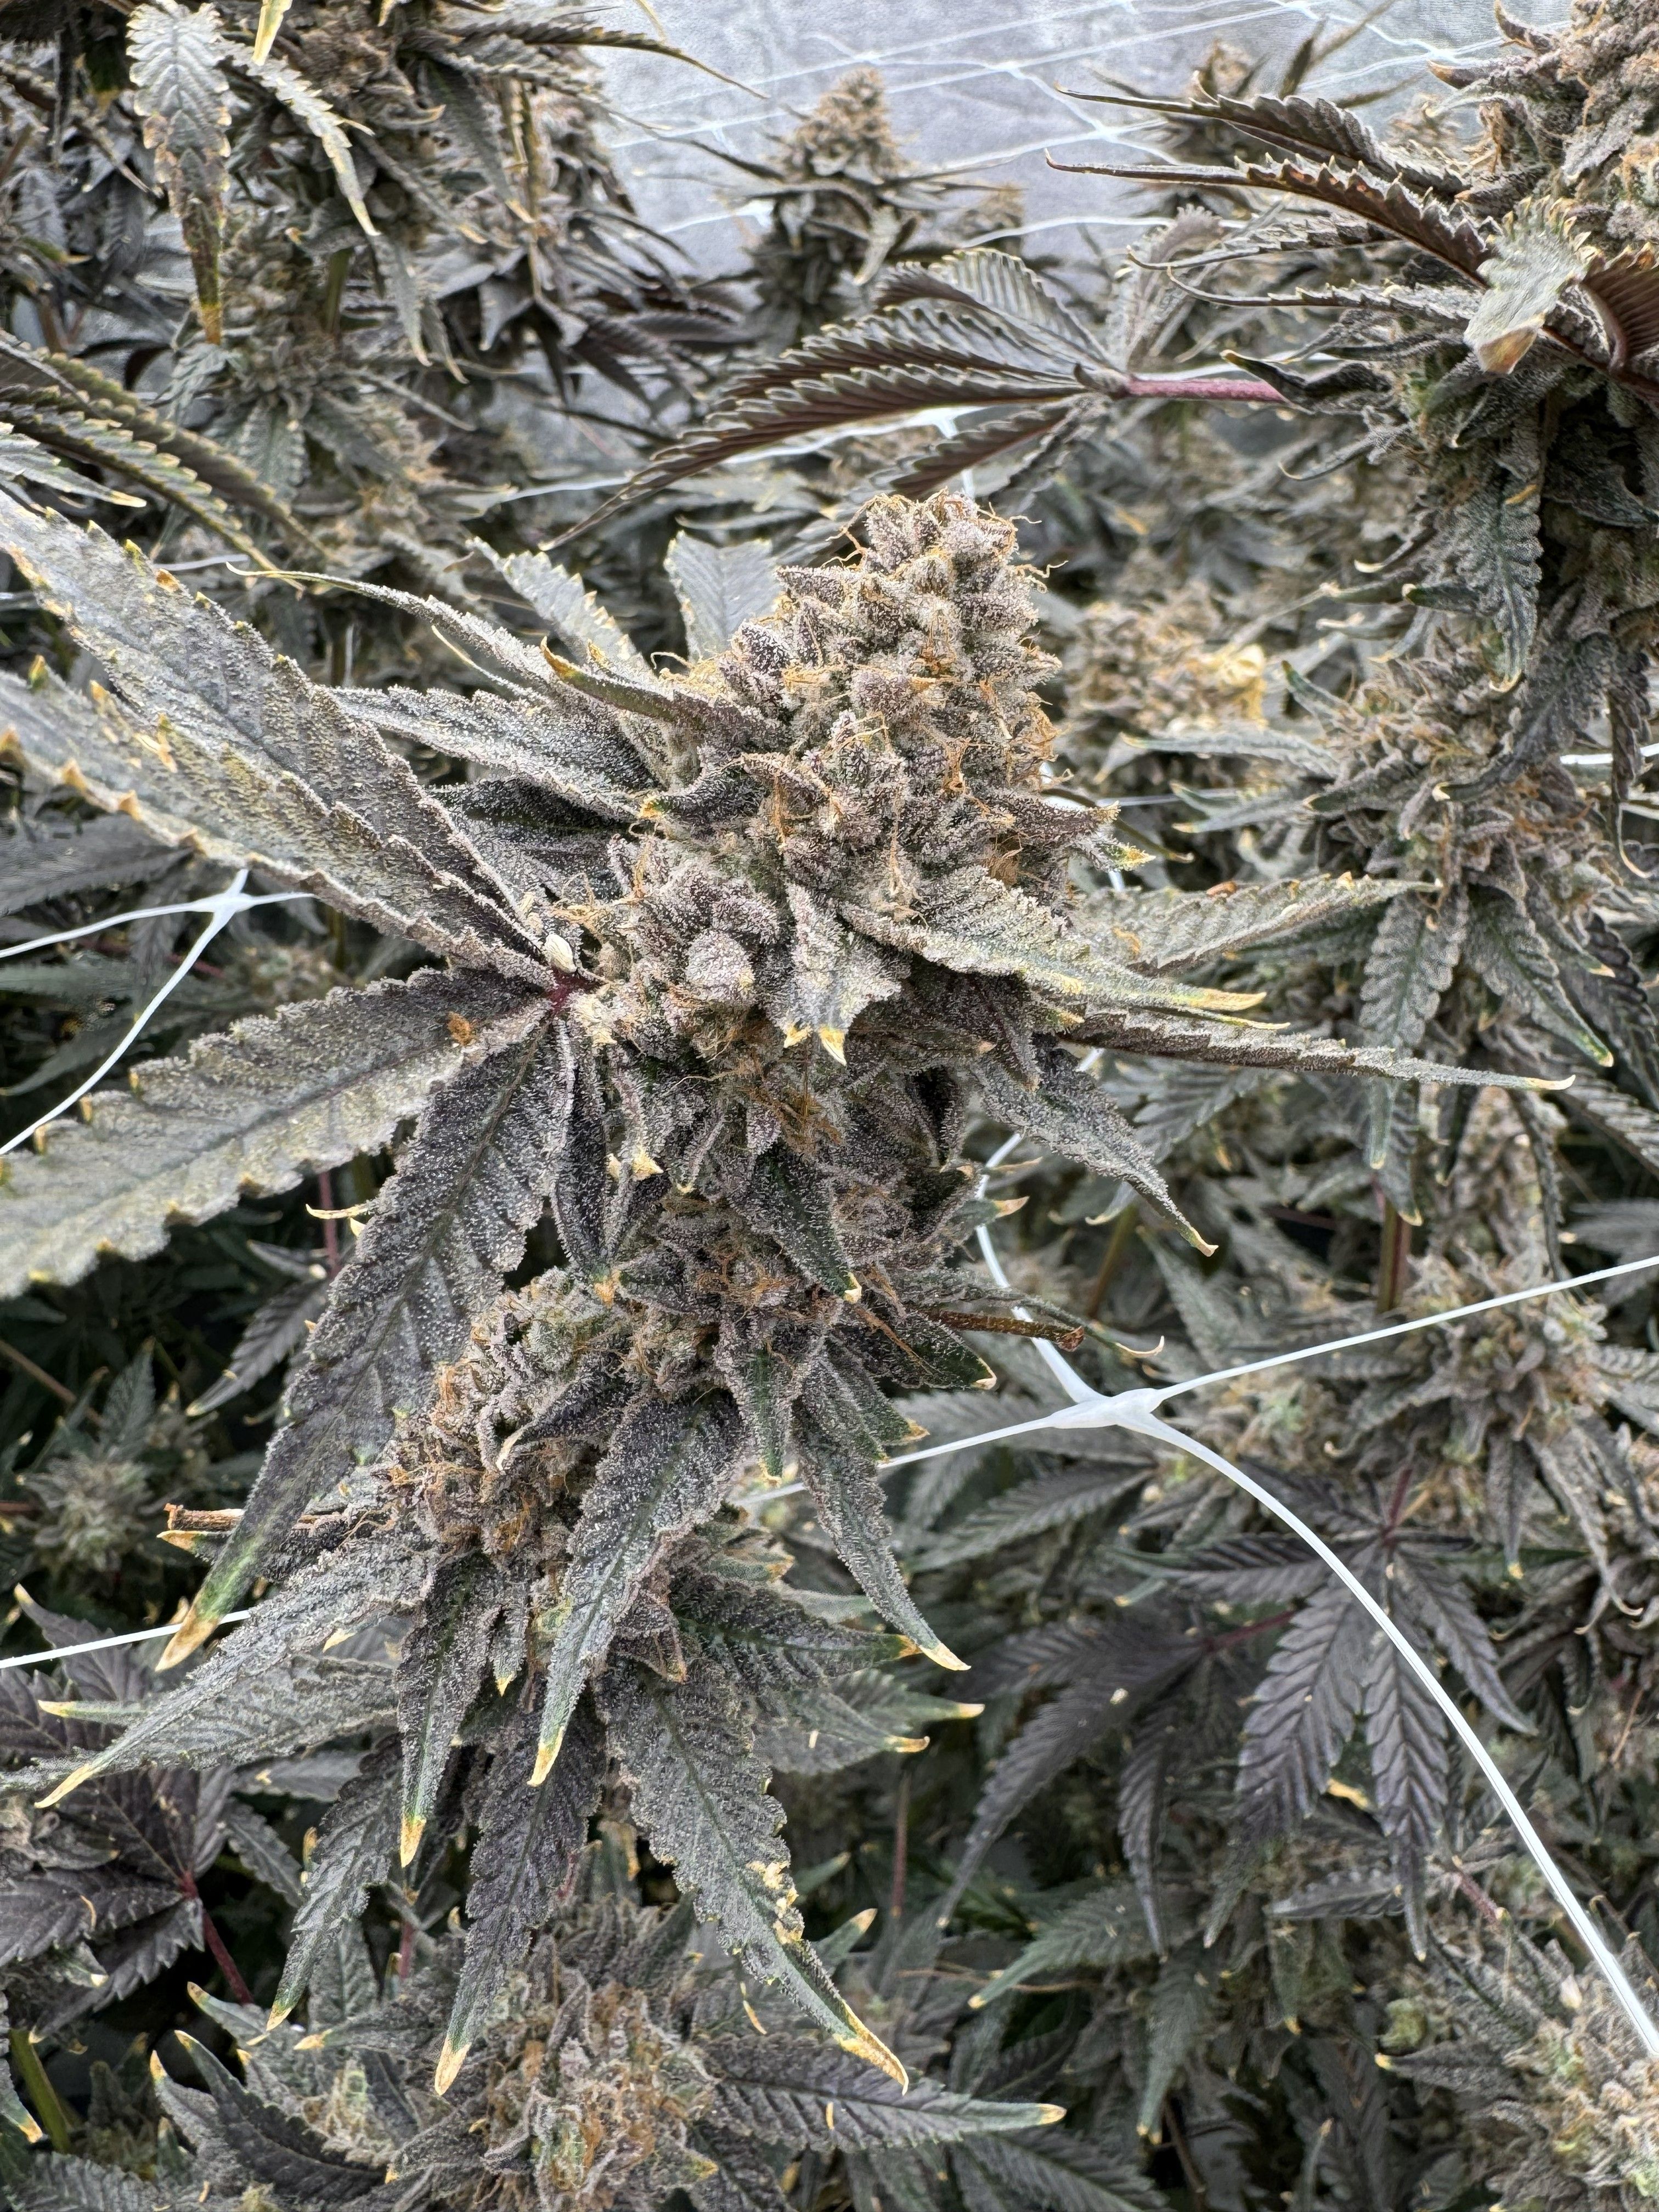
The fading leaves and overall tired appearance are simply part of the process. What matters now is giving the seeds enough time to fully mature and reach their final stage.
The End of This Production. But Not the Story
And just like that, this production cycle has come to an end - but this is far from the end of the story.
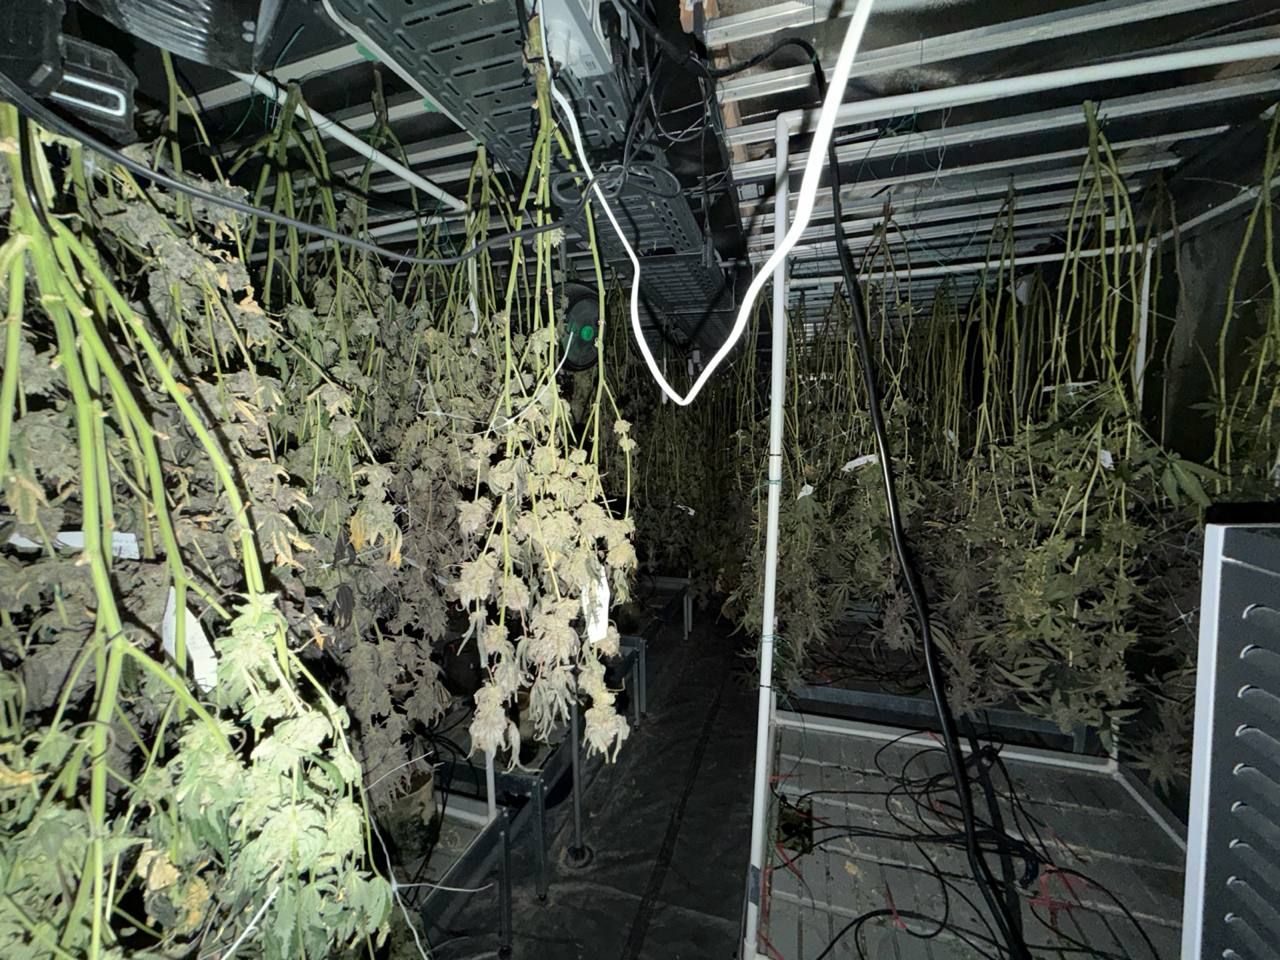
After the harvest, drying, and careful extraction of the seeds, there is still a long and meticulous process ahead. The real work now shifts toward testing the seeds we have produced, evaluating the resulting phenotypes, and identifying the individuals that best represent the goals of this cross.
From there, we will carry out stability testing, continue selecting the strongest expressions, and use further breeding to reinforce and refine the genetics.
The development of this new line is only just beginning.
FAQ
1. What is the main goal of creating identical mother clones?
The goal is to establish a uniform group of mother plants with identical genetics. This gives us consistent material for future selection and allows us to compare plants under the same conditions.
2. How many clones are prepared for each variety?
We aim to establish at least 10 final mother plants per variety. To account for potential losses during rooting, we initially take around 30–40 cuttings, expecting approximately a 90–95% rooting success rate.
3. Why do freshly taken clones require such high humidity?
Fresh cuttings do not have an established root system, so they rely heavily on moisture absorbed through their leaves. High humidity helps prevent dehydration while the first roots are developing.
4. When do the first roots usually appear on the clones?
The first visible roots typically begin to appear around days 7–8. This is a signal that the clones are ready for increased airflow and slightly lower humidity.
5. Why are the rooted clones transplanted into coco as soon as possible?
Once a strong root system has developed, we transplant the clones to give the roots more space to expand. This allows the plants to move quickly from the rooting stage into active vegetative growth.
6. How are the future mothers and fathers managed differently?
The future mothers remain focused on vegetative growth, structure, and training, while the selected males are moved into a separate environment and prepared for the flowering and pollen-production stage.
7. Why is plant structure managed before pollination?
As the mothers become larger and denser, excess foliage can restrict airflow and make the flowering sites harder to access. Careful defoliation and training help open the structure and expose the stigmas for more efficient pollination.
8. How is the pollination timing synchronized?
The mothers are allowed to reach the appropriate flowering stage while the fathers are prepared to begin pollen production. The timing of both sides is carefully coordinated so that viable pollen is available when the mothers are ready to receive it.
9. How do you know that pollination has been successful?
About a week after pollination, the stigmas begin to darken and the first signs of seed development become visible inside the developing seed pods. These changes indicate that the pollination process has taken hold.
10. What happens after the seeds are harvested?
Harvesting the seeds is only the beginning of the next stage. After drying and extraction, the seeds are tested to evaluate the resulting phenotypes, identify the strongest expressions, assess stability, and determine which plants are worth carrying forward for further breeding and genetic refinement.
Comments